This tutorial is step by step guide for testing Agent Transfer scenario with SmartAssist so that conversation can happen between agent and customer using various channels available in the SmartAssist platform.
The following list pre requisite you will take before proceeding further to test Agent Transfer scenario with SmartAssist
1) Build the Bot in XO Platform or using SmartAssist
2) Import the Bot if requied into SmartAssist
3) Create a flow inside SmartAssist
Now here are steps to successfully perform Agent Transfer:
Step1 : We have to create a Agent Transfer Configuration. There are 2 ways to create Agent Transfer Configuration .
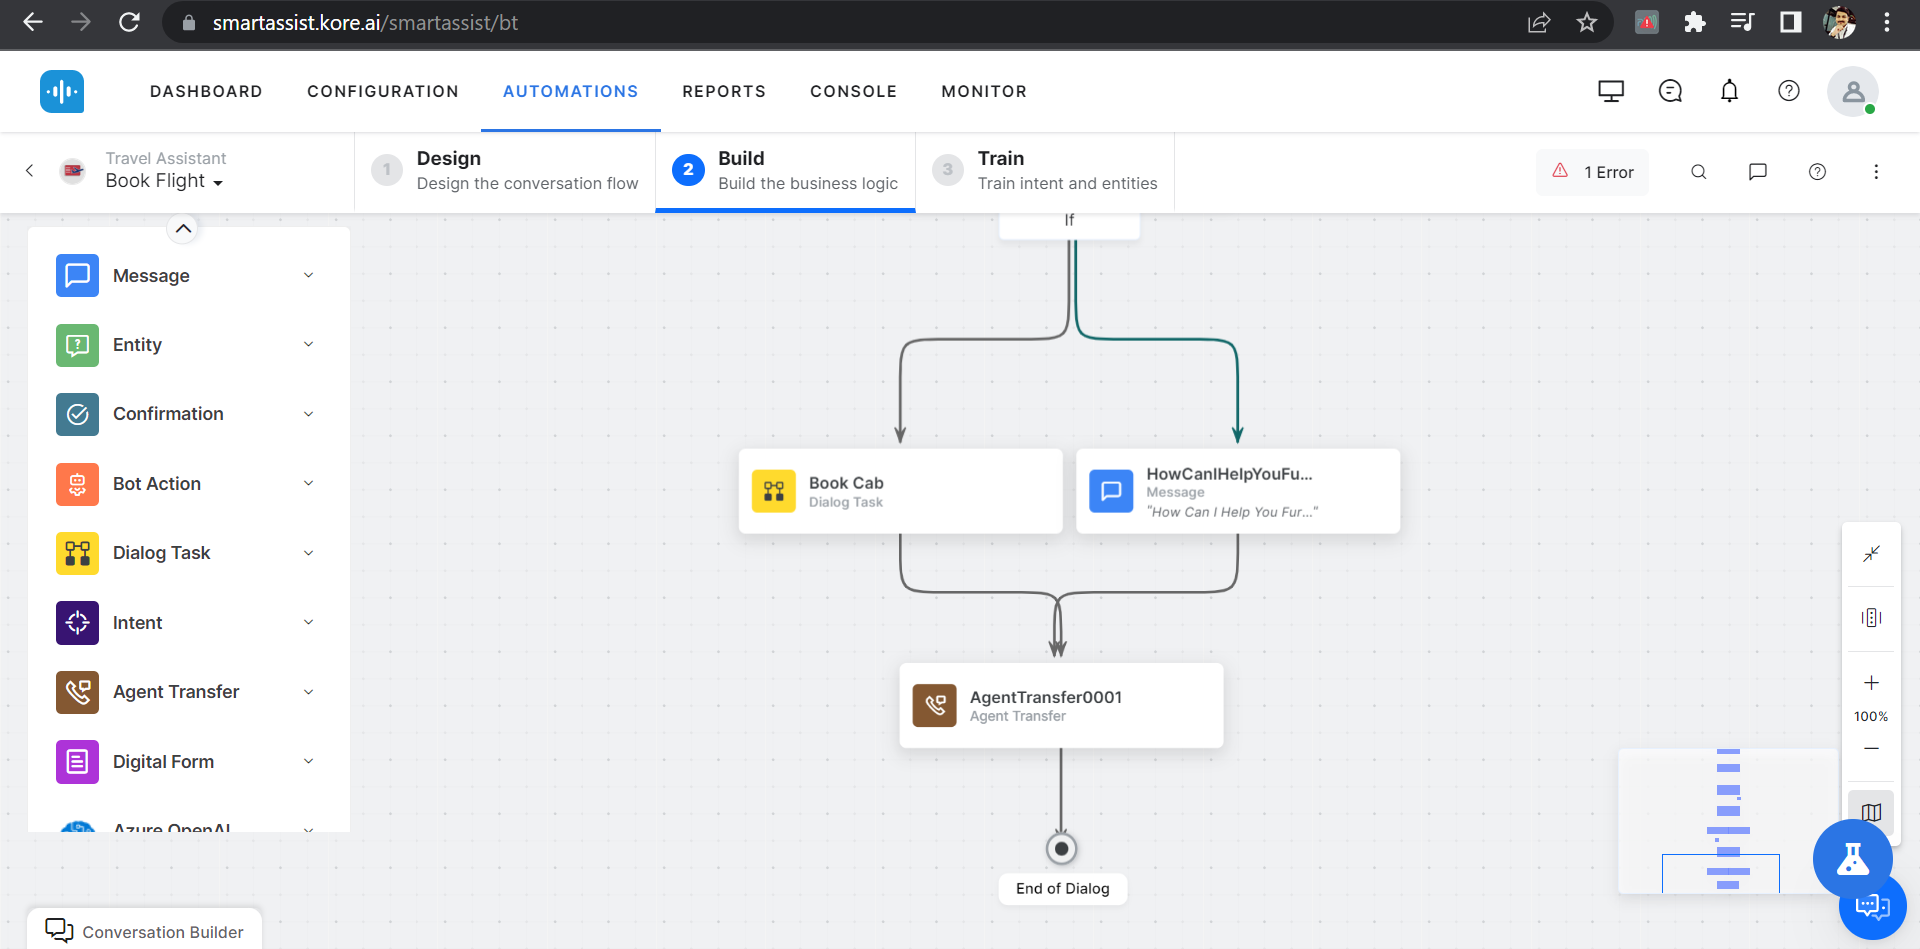
Option A: Creating Agent Transfer node inside Dialog task of the bot in Bots Builder Platform then publish the bot.
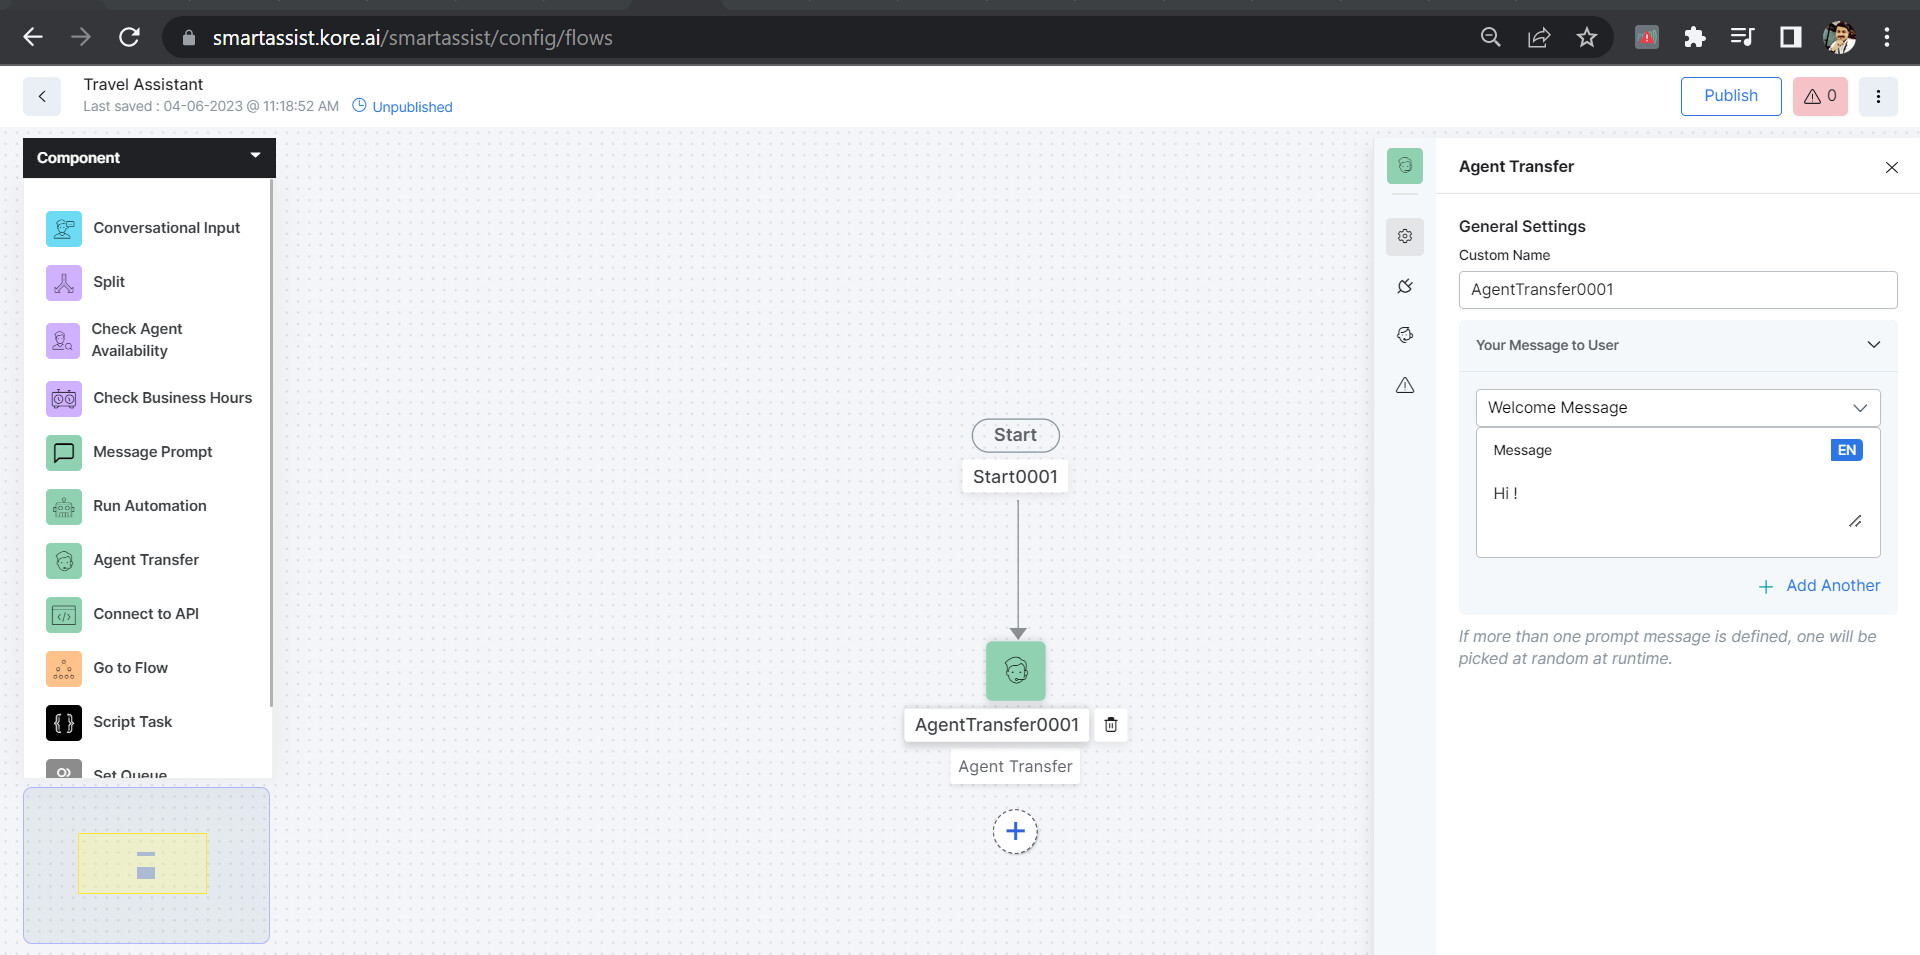
Option B: Creating Agent Transfer component inside Flow in SmartAssist Platform then publish it.
Optional Step
Note:- If you have all ready have the Agent setup who can talk to the end-user then you can skip this Step 3 given below.
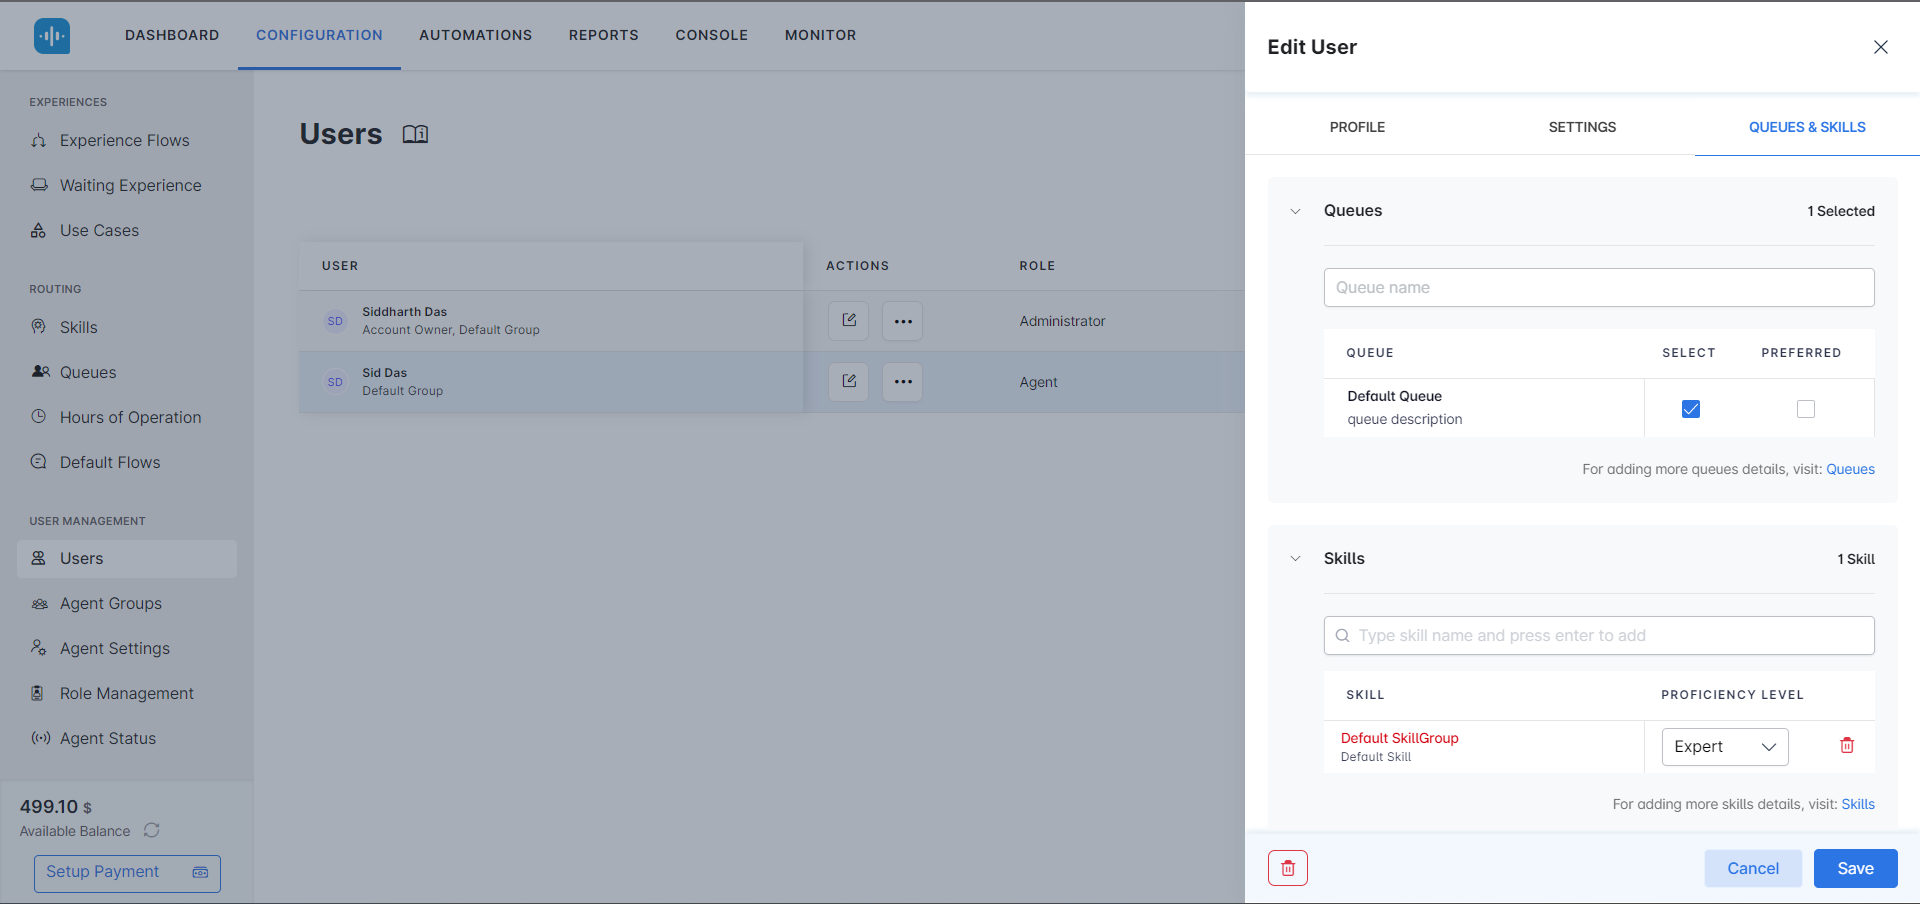
Step 3: Go to USER MANAGEMENT and then Users Option to create a Agent.
Fill the details and follow the steps as shown in the below screenshot.
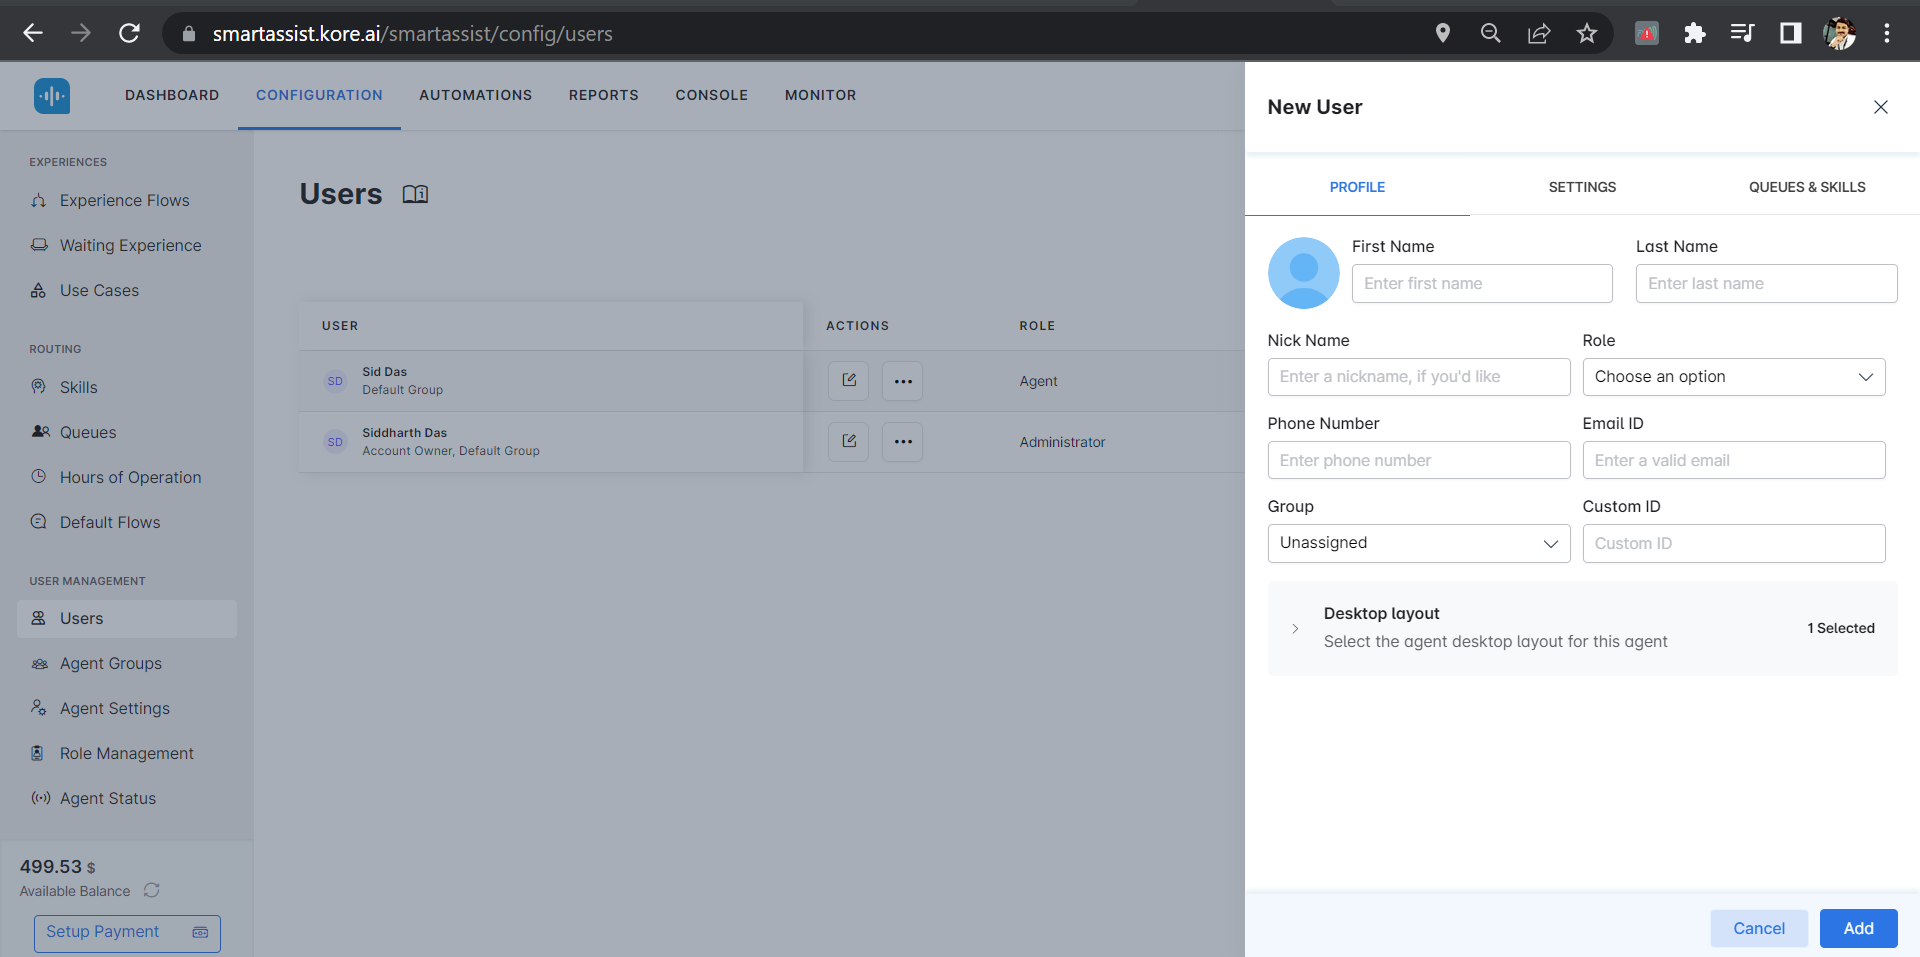
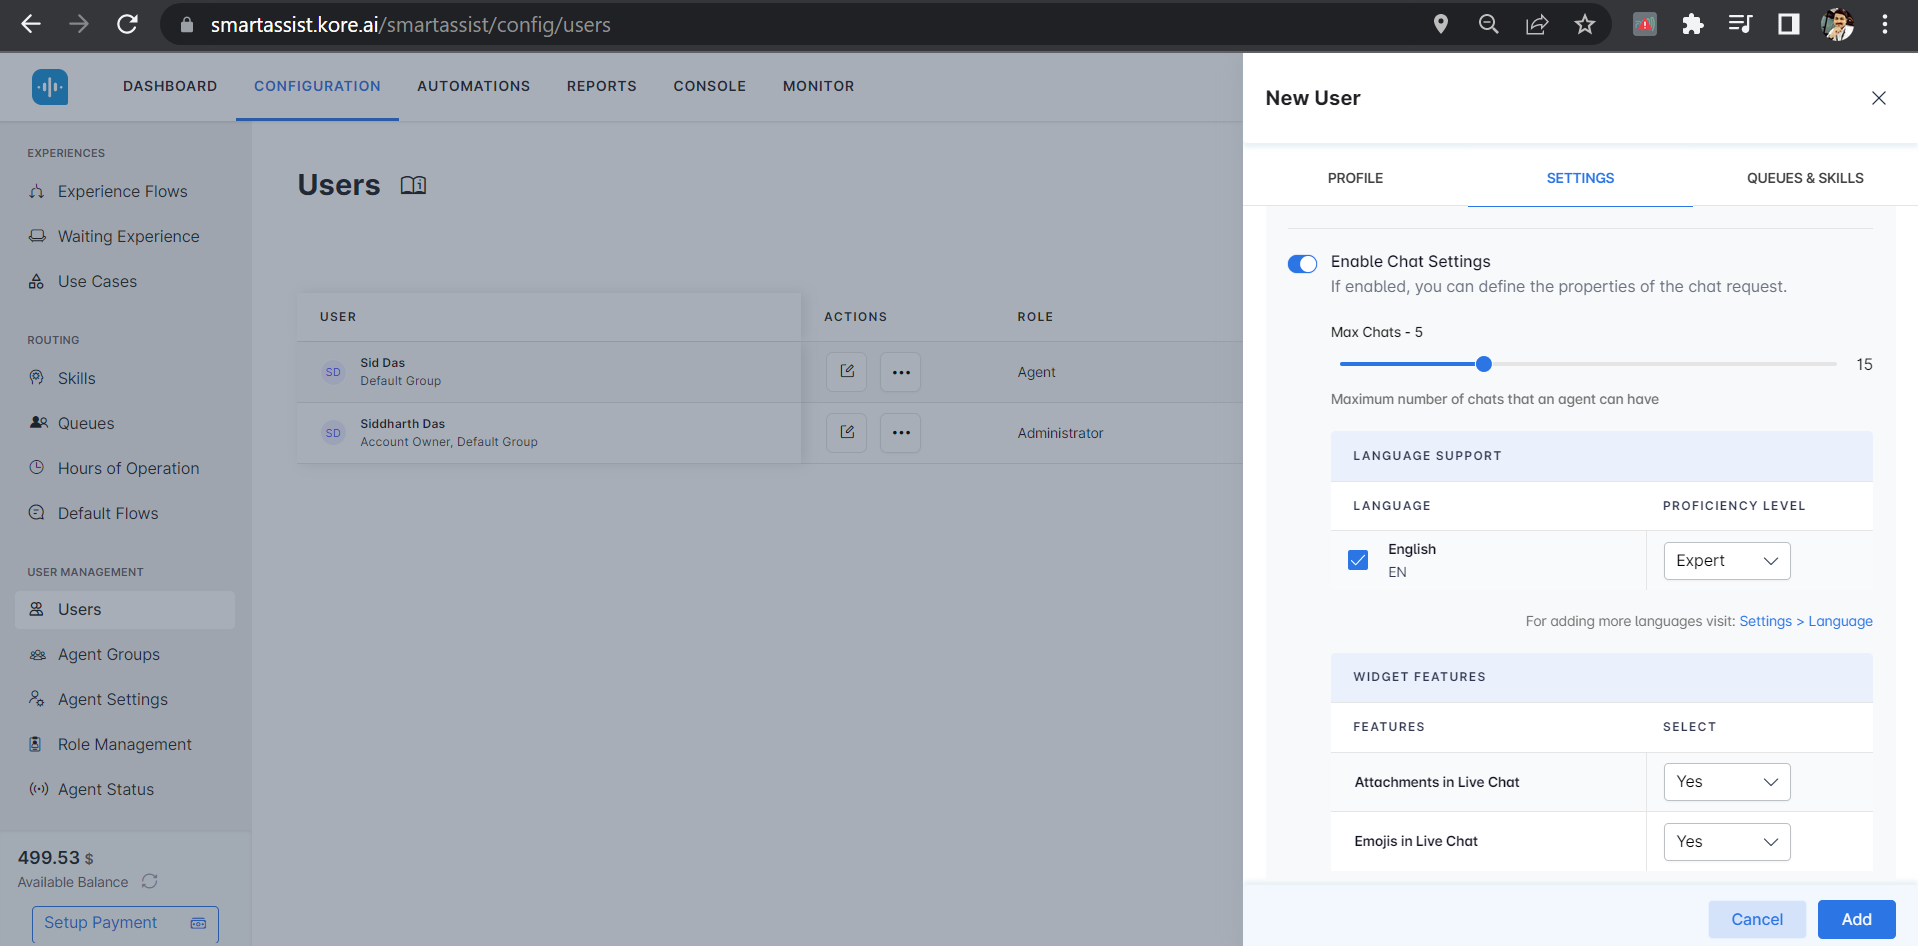
Note:- Please provide a valid Email Address where you will get the link to Agent access where you could able communicate with customer via various channels as shown in screenshot below.
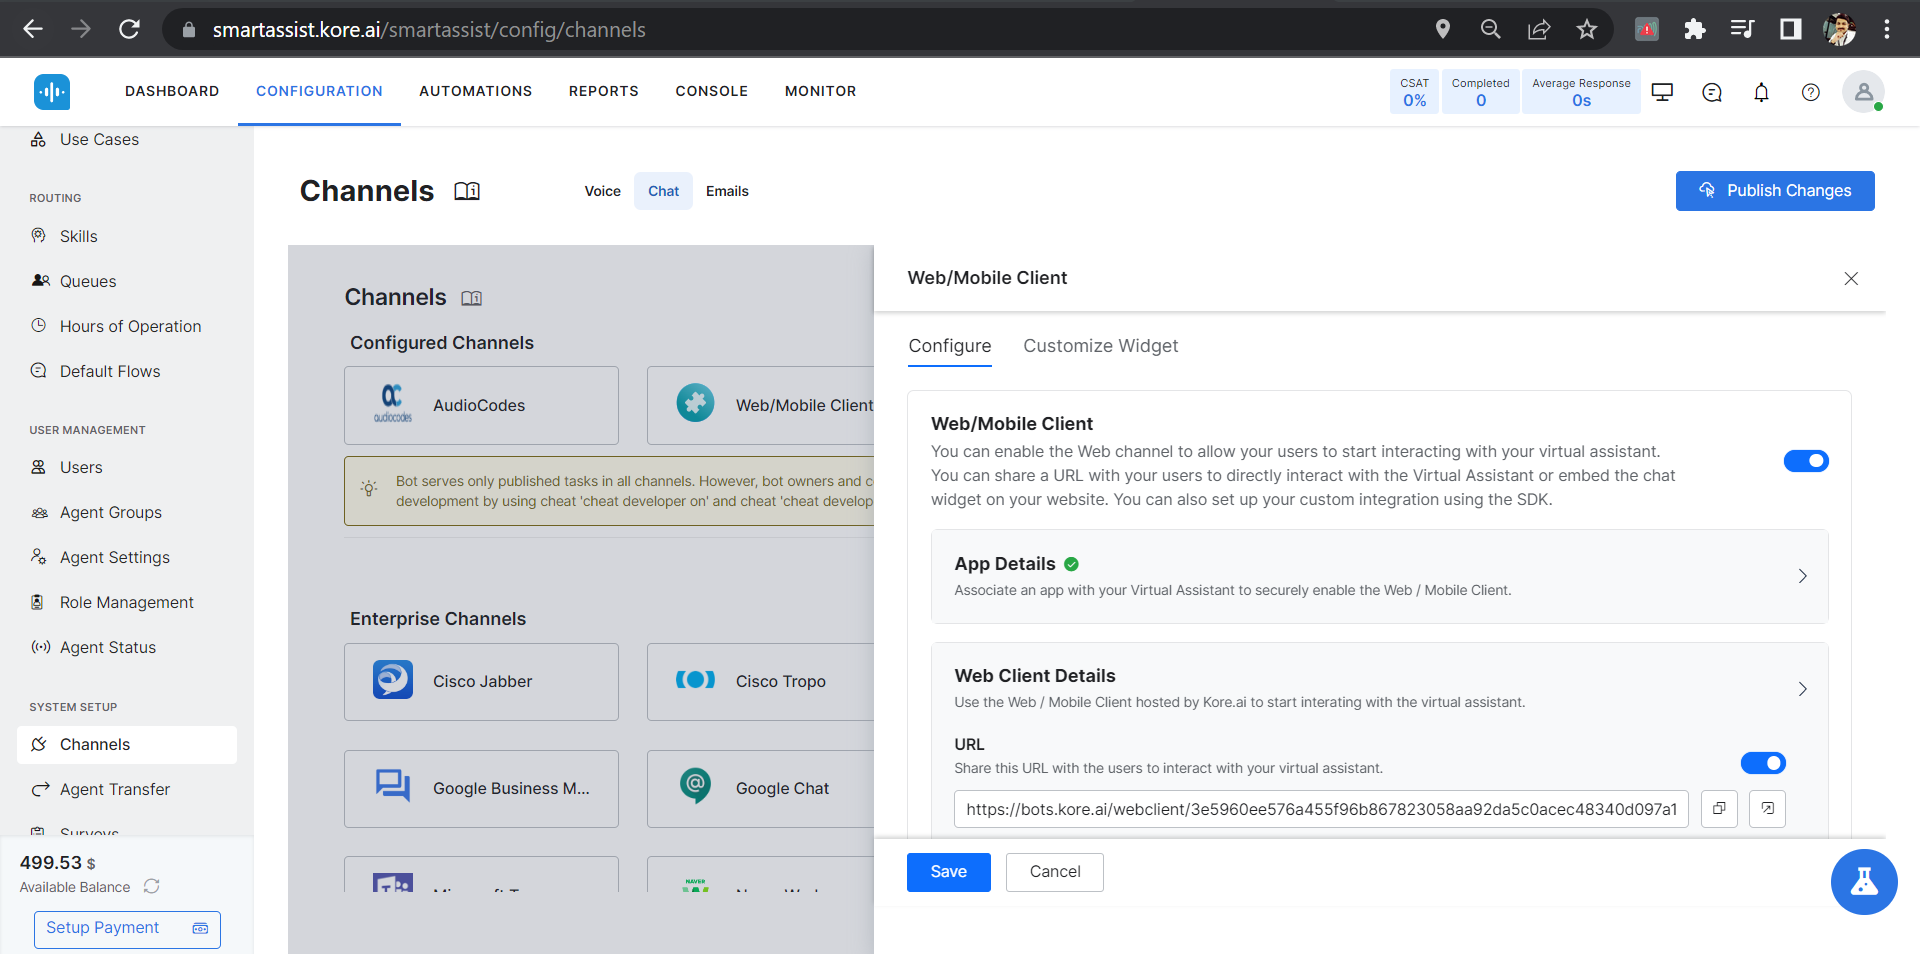
Step 4: Once you create a Agent then go to SYSTEM SETUP and then Channels Option to create a channel.
Note:- Here I have opted for Web/Mobile Client as channel as shown in below screenshot but you can use any channel available at SmartAssist according to your requirements.
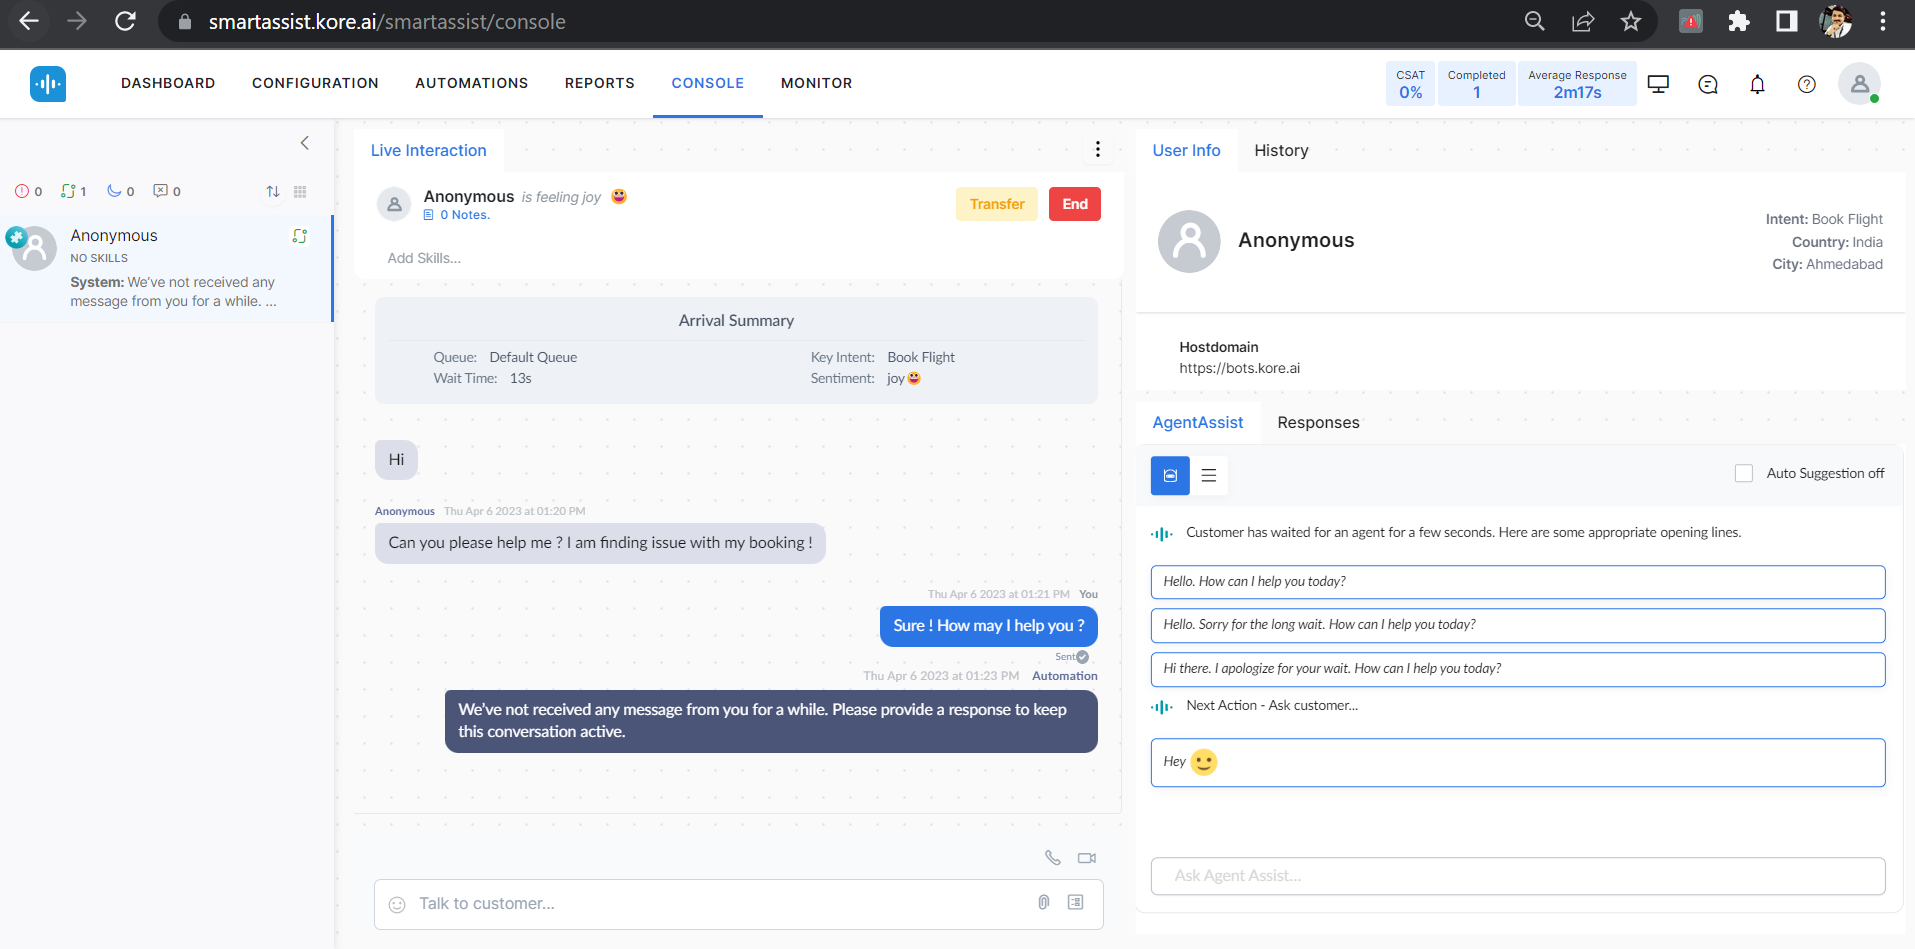
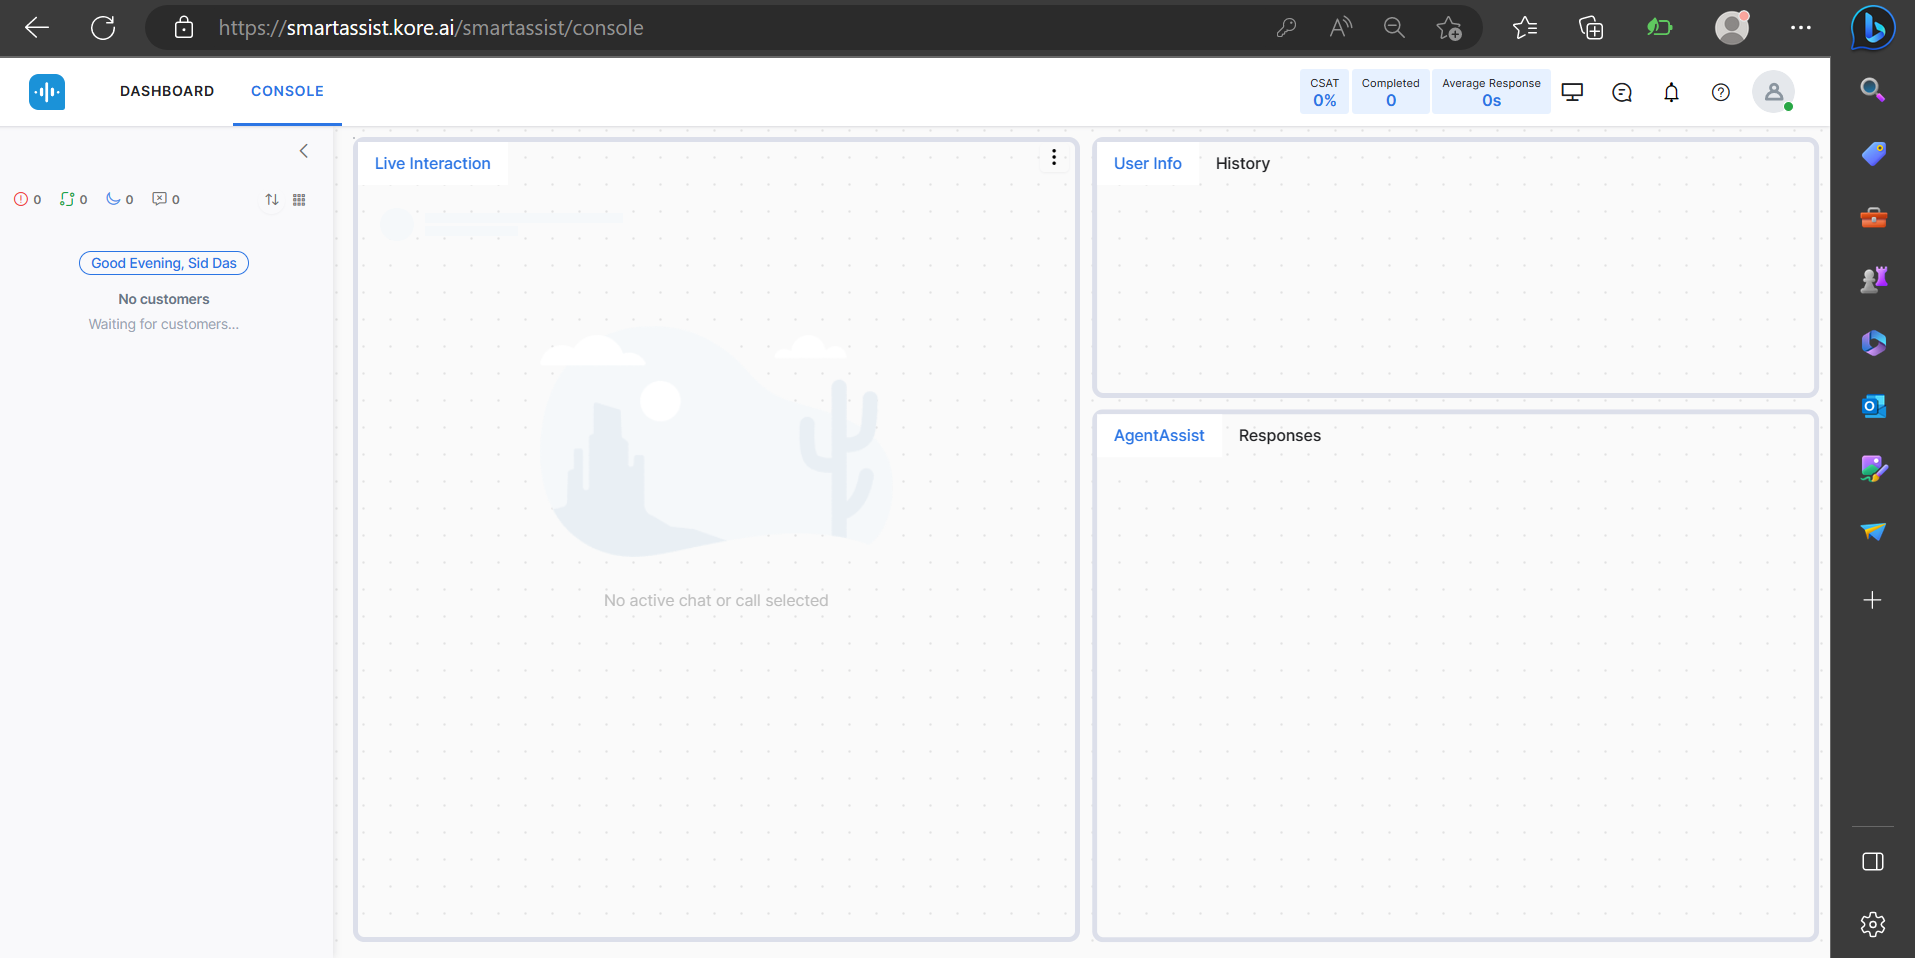
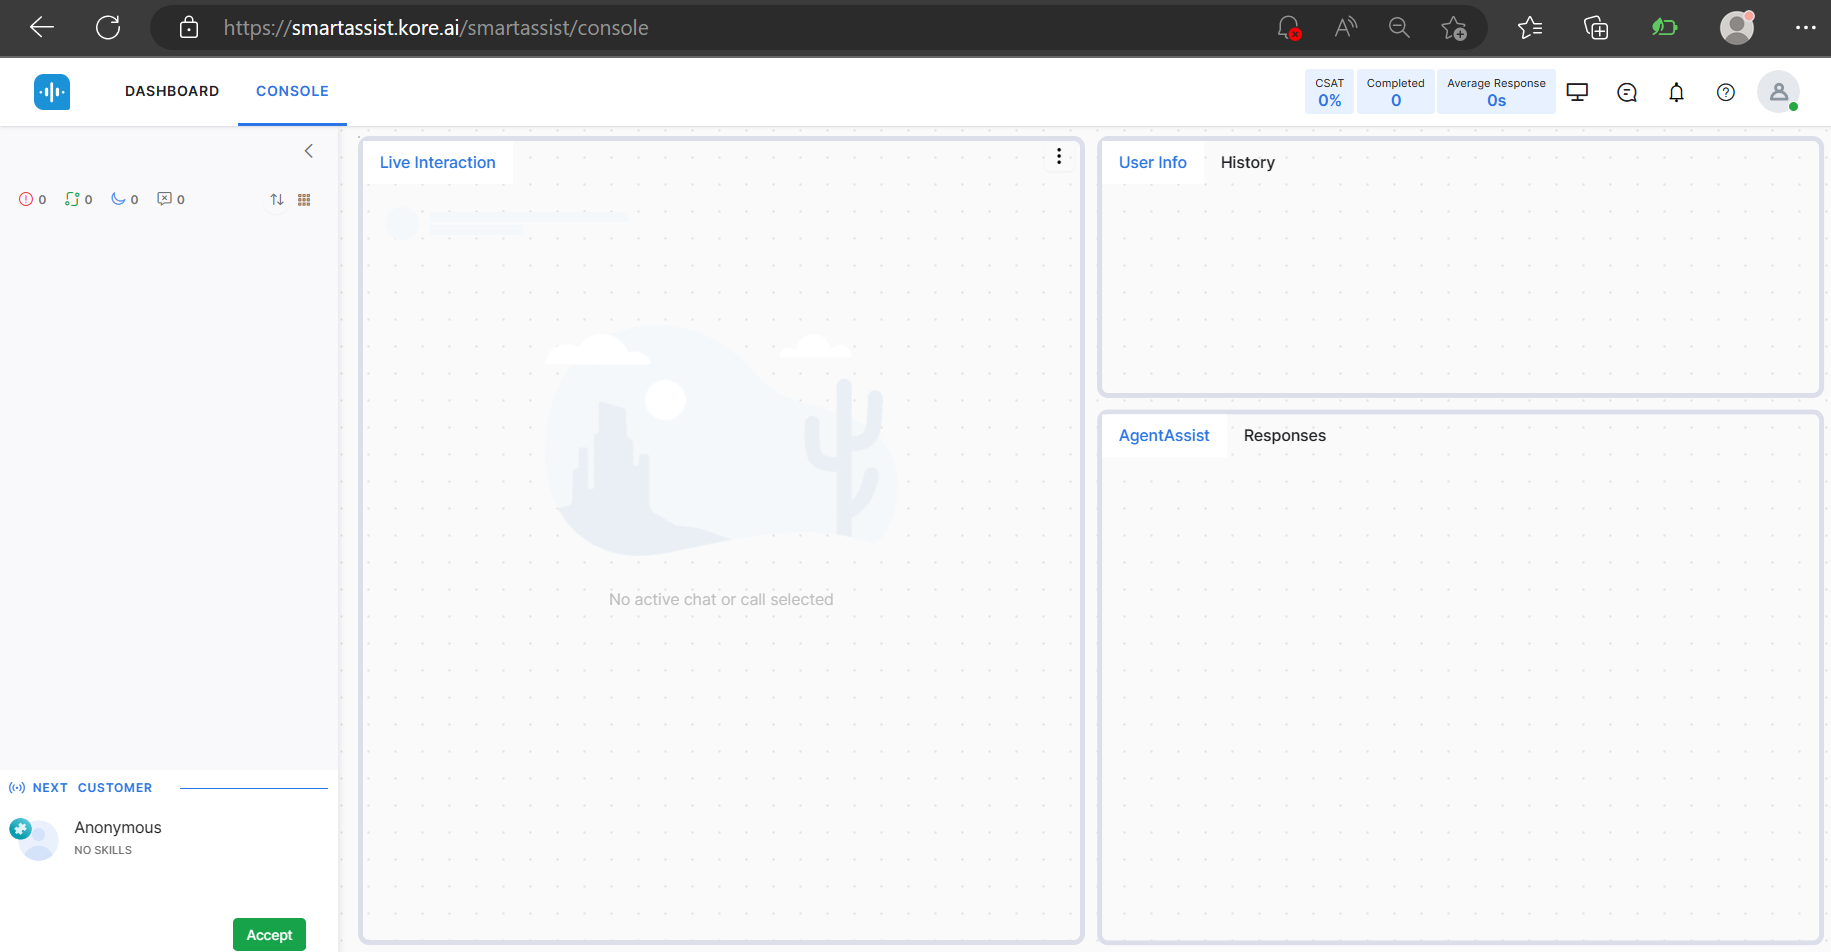
Now you can access your Agent console from the credentials you have received in Email or from the CONSOLE Tab from the Administrator Account of the SmartAssist.
After going through all the above process when customer from various channel when will try to have conversion with Agent a popup message will displayed in Agent Access console to accept the request to start conversation. (CONFIGURATION)As shown in the below screenshot.
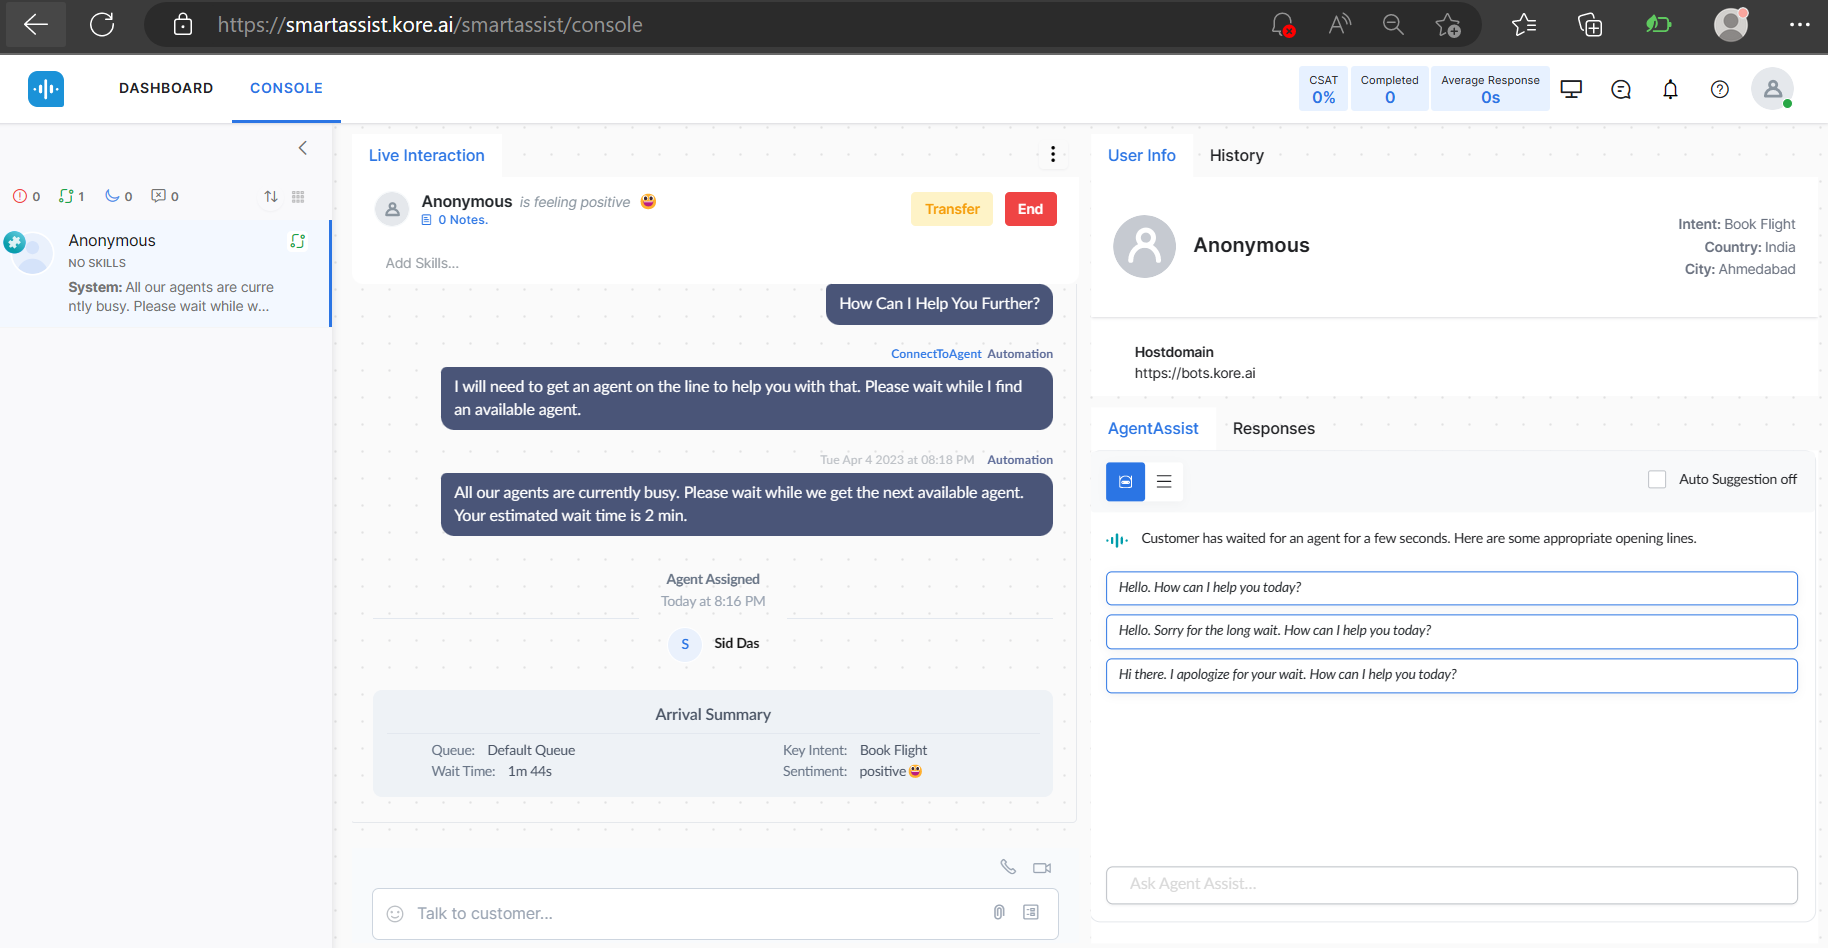
As you can see in the below screenshots here is a Customer from one of the Channel sending message to Agent.
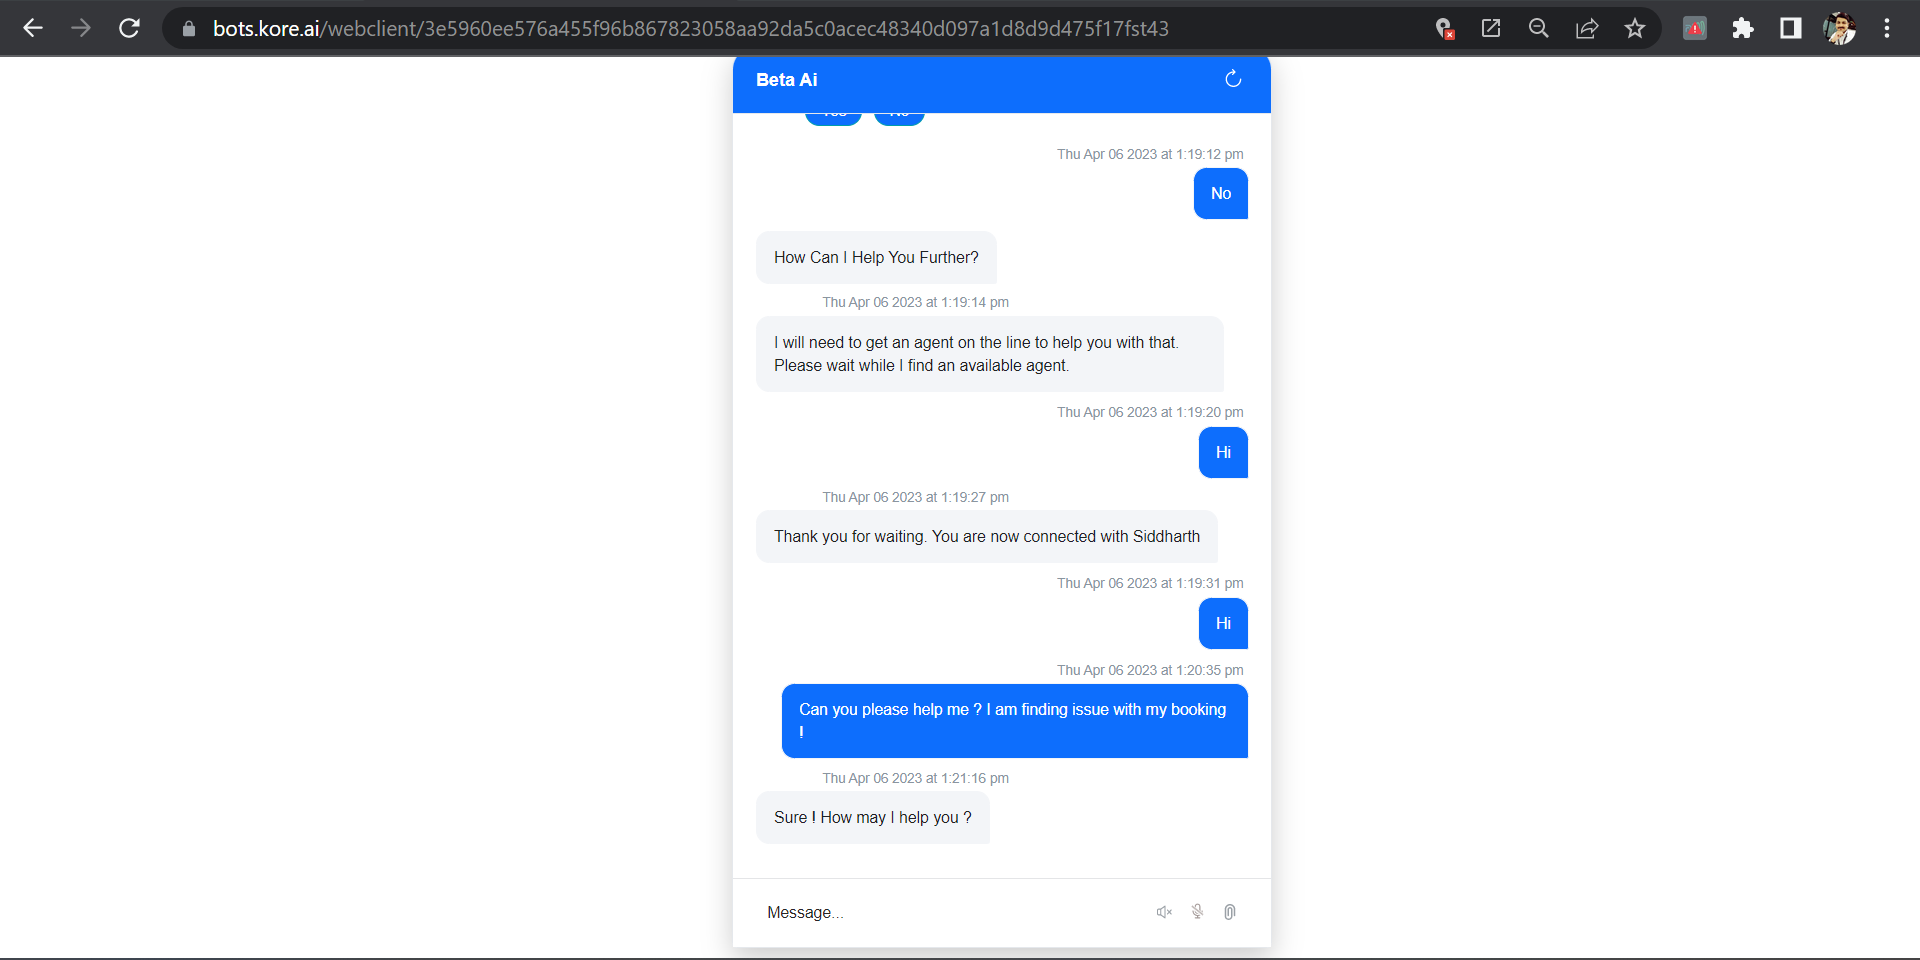
And now the Agent has replied to customer from the Agent Console.