This Article offers a comprehensive, step-by-step guide for integrating Email into the Smart Assist Channel, specifically for Gmail.
#The Required Steps for Integration#
Navigate to Configuration - > Channels - > Emails
- Go to the “Configuration” menu.
- Select “Channels.”
- Click on “Emails.”
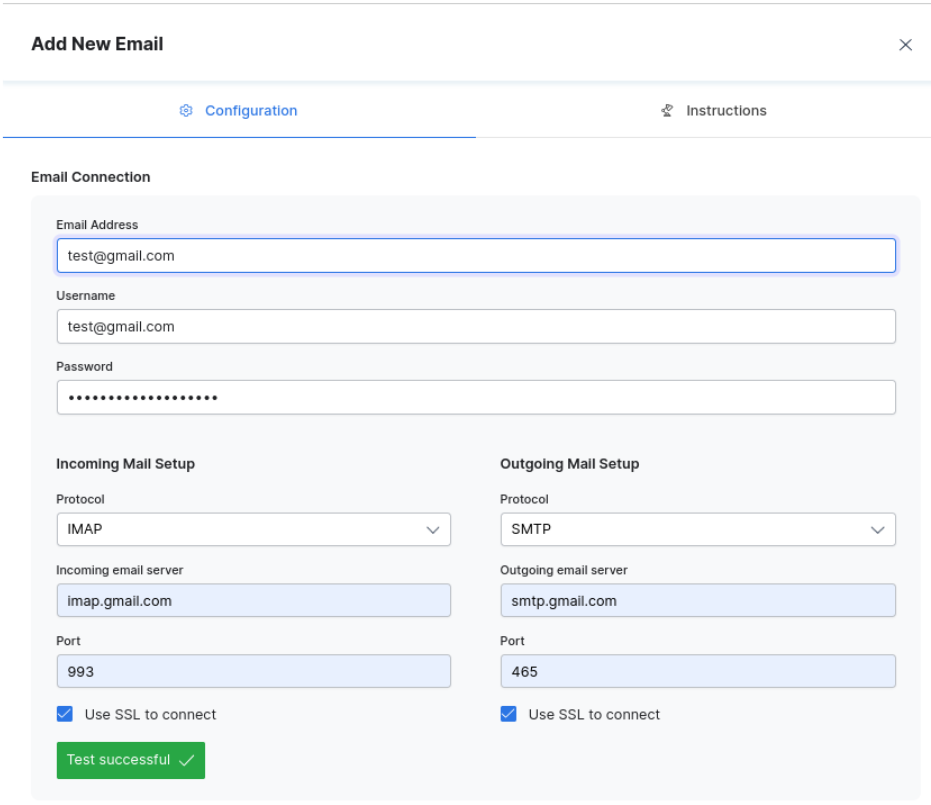
Add a New Email Address
- In the Email channel, click “Add New Email.”
- Enter the required email address.
Generate the Password
Follow these sub-steps to generate the password:
- Access Your Gmail Account
- Open your Gmail account.
- Click on your user profile, and select “Manage your Google Account.” You will be redirected to a new page.
Navigate to Security
- Within this new page, go to “Security.”
Enable 2-Step Verification
- Find “How you sign in to Google” and click on “2-Step Verification.”
Create an App Password
- In the 2-Step Verification settings, locate “App passwords” and click on it.
- Create a new “App name.”
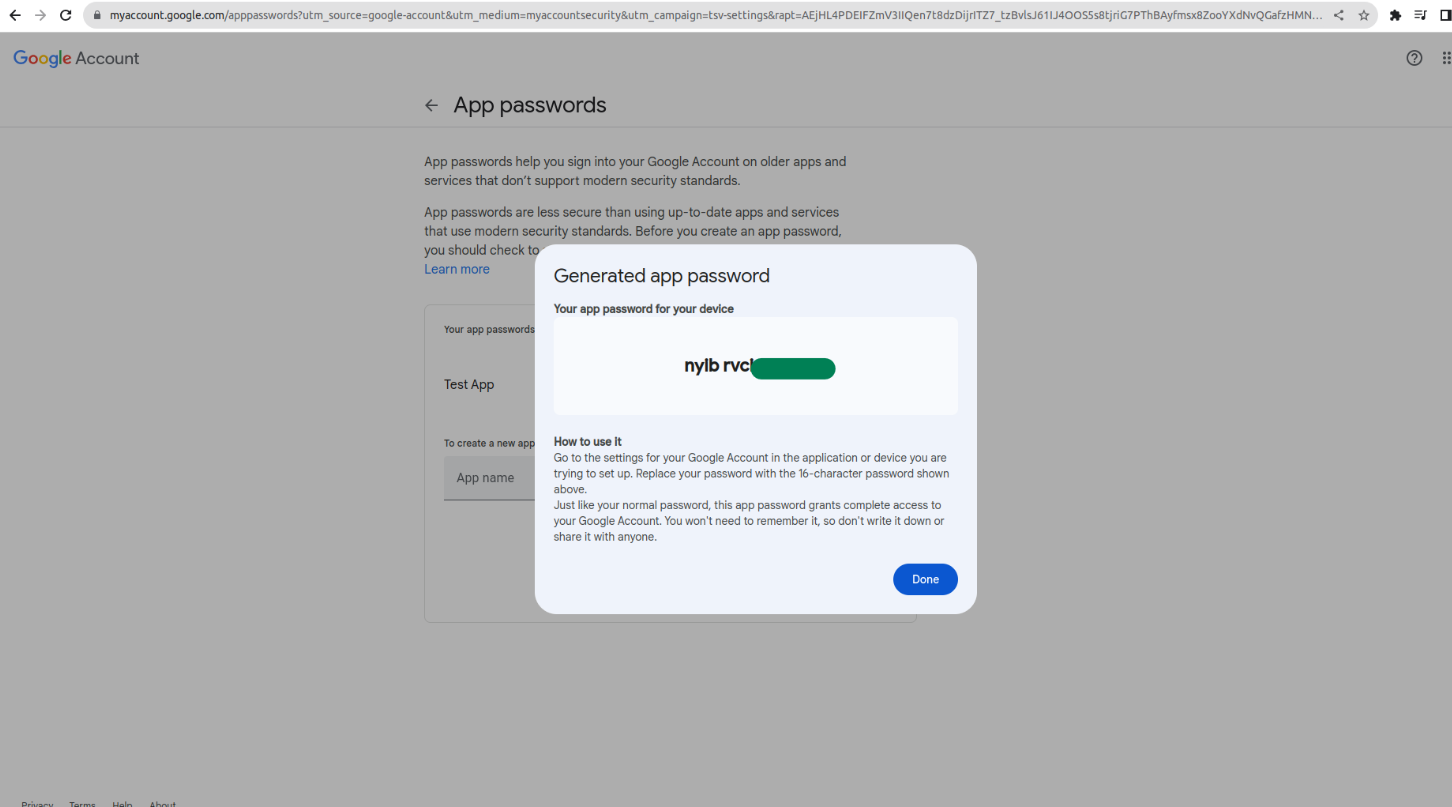
Copy the Auto-Generated Code
- After creating the app, you will receive an auto-generated code or password.
- Copy this code.
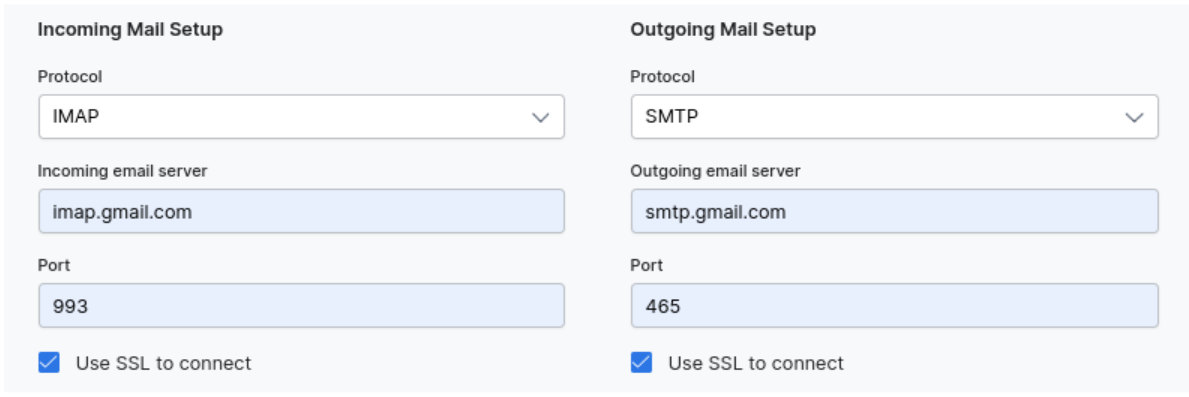
Configure Incoming and Outgoing Mail Setup
- Add the required details as shown in the provided screenshot for both “Incoming Mail Setup” and “Outgoing Mail Setup.”
Test the Connection
- Click on “Test Connection” to verify that the test is successful.
#Reference Documentation#
- Smart Assist Documentation for Email Setup: Smart Assist Email Setup Documentation
- Google Documentation for App Password Generation: Google App Password Generation Guide