This Article offers insights into personalizing Auto suggestion queries based on user input within SearchAssist.
#Problem Statement#
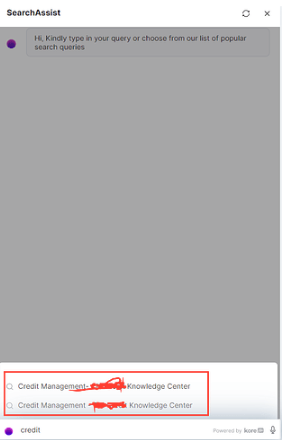
Request to customize suggestions according to user Queries ?
#Reference Screenshot#
#Solution#
- The information presented in the auto-suggestions originates from the integrated data source within SearchAssist
- To modify or replace these suggestions, users must edit the source data used by SearchAssist.
- If a field is designated as an autosuggest field, its content will be included in the auto-suggestion API.
- SearchAssist indexes the source data. Indexing is like organizing the data for quick and relevant search retrieval.
- It stores the ingested data as field and value pairs.
- Index fields are like the schema of a database and define the data stored with SearchAssist.
- Users can customize index configuration to train SearchAssist to return results as per the requirements.
- By default, SearchAssist automatically adds some pre-defined index fields associated with web pages, documents, and FAQs.
- Users can modify and delete existing fields or add new fields relevant to your ingested data.
- For the unstructured data, it is recommended to add the index fields so that content from those fields can be searched and displayed in the results.
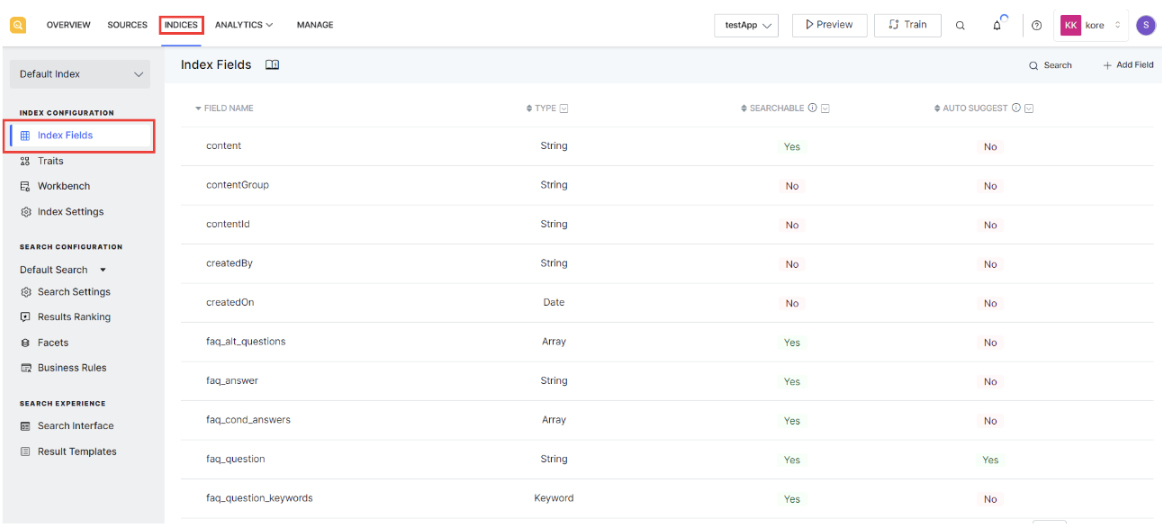
To view the existing index fields, go to the Index Fields in the Index Configuration page under the Indices tab.
To introduce a new field, click the ‘Add Field’ button located in the top-right corner, and proceed to input the following fields
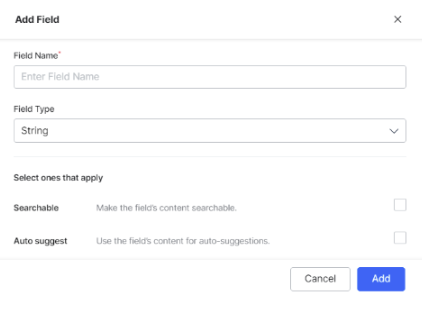
Field Name- Name of the Field
Field Type- Type of the Field
Searchable - Select if the content of the field is to be made searchable
Auto Suggest- Select if the content of the field is to be used for autosuggestions.
Note:
Auto-suggest displays query suggestions to the user based on the inputs so far.
It is recommended to enable the auto-suggest feature for fields like product name, brand, etc.
To save the field, click on ‘Add.’
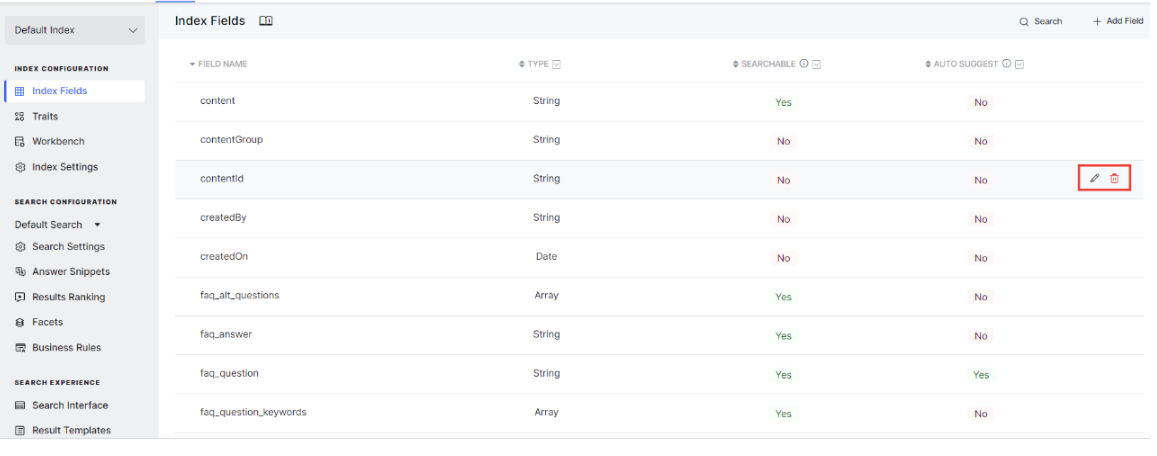
To make changes or delete an existing field, navigate to the specific field and use the corresponding buttons next to the field name to perform the desired action.