Configuring application on Azure
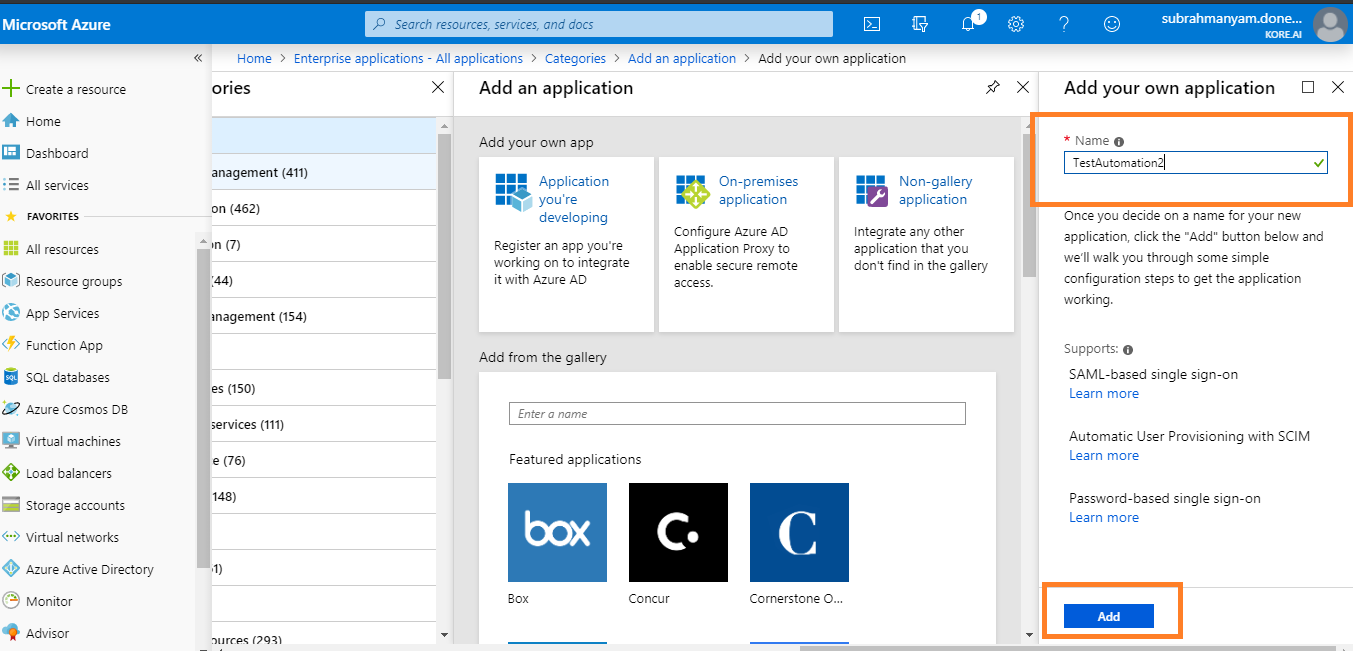
Adding a non-gallery application
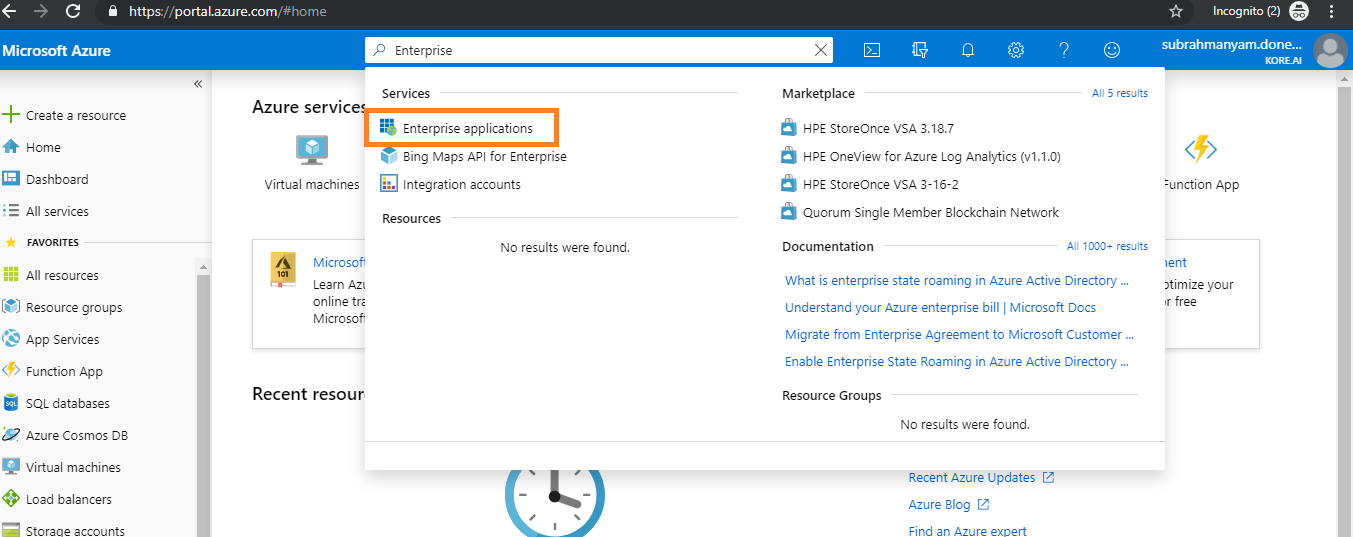
Sign in to the Azure Active Directory portal using your Microsoft identity platform administrator account.
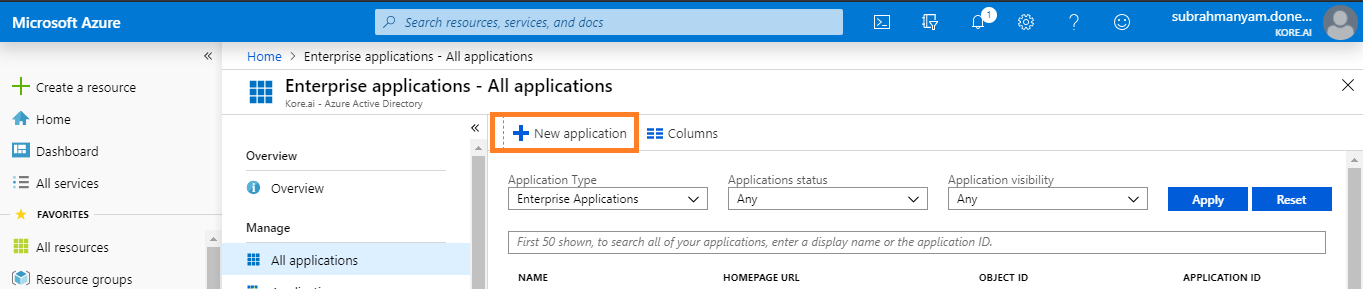
Select Enterprise Applications > New application.
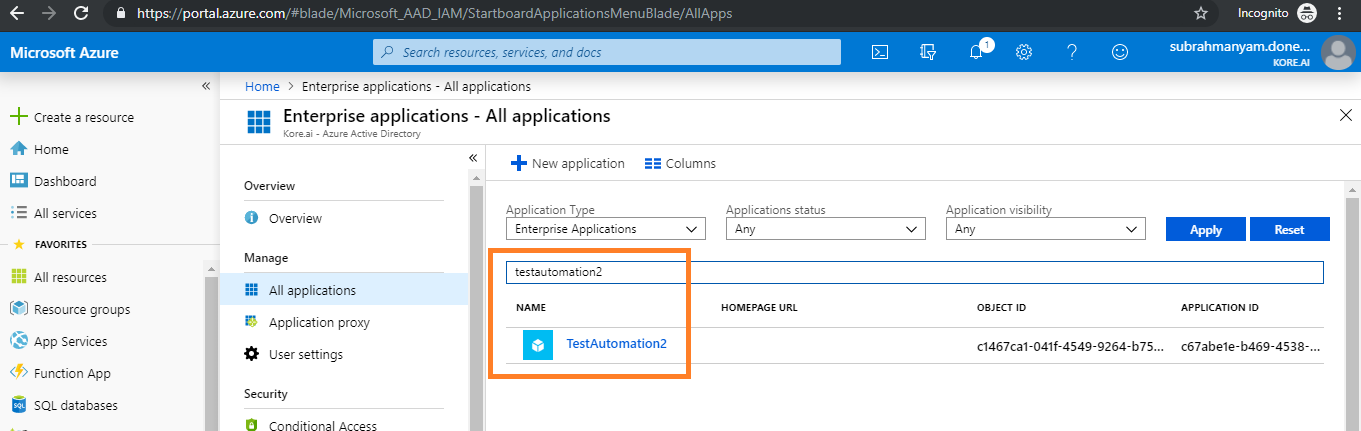
In the Add from the gallery search box, enter the display name of the application. If the application appears in the search results, select it and skip the rest of this procedure.
Select Non-gallery application. The Add your own application page appears.
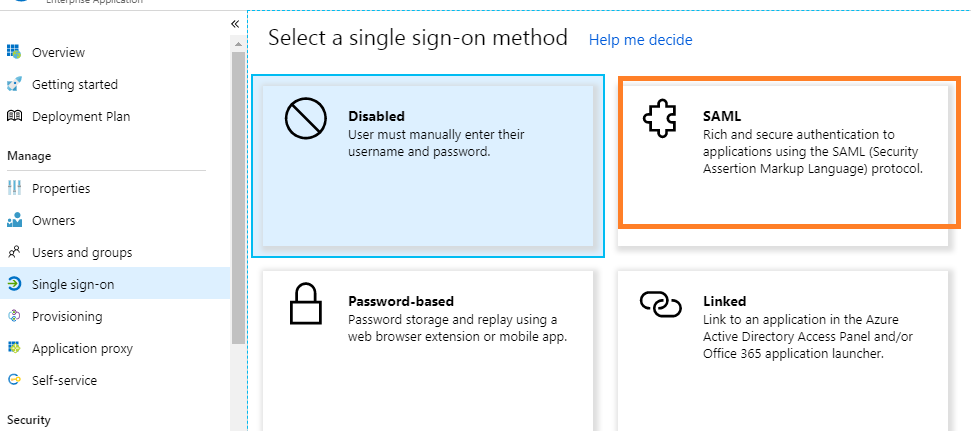
Choosing Sign-On method on Azure
Under the Manage section, select Single sign-on and choose the method as SAML
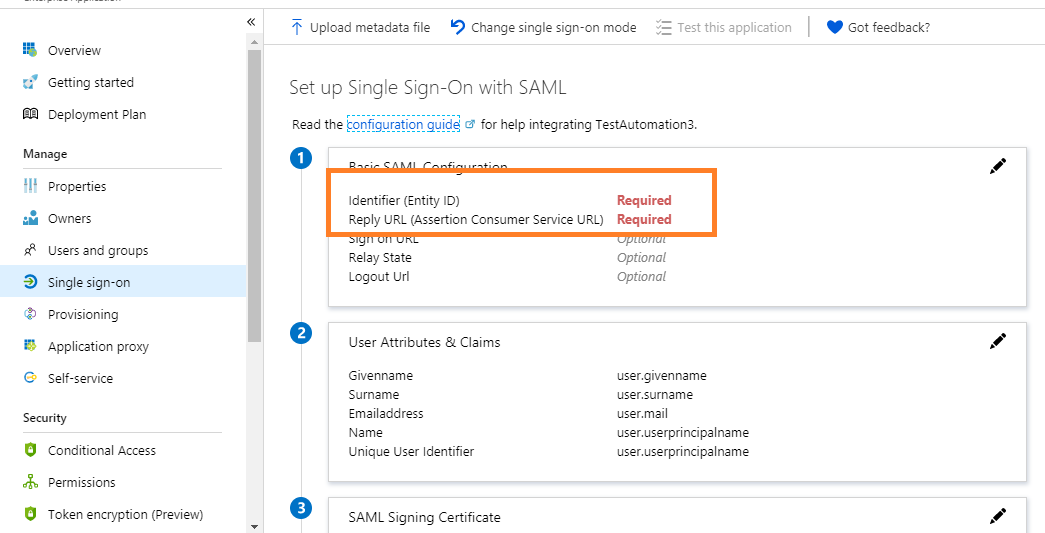
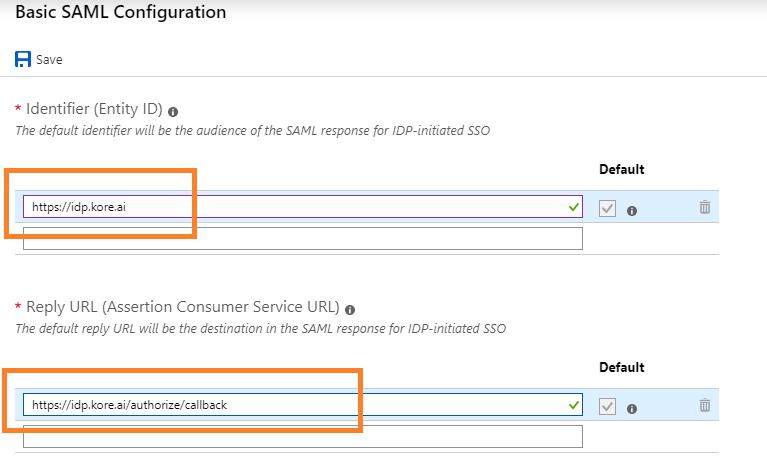
Setting up SAML configuration on Azure
Set up the Basic SAML configuration at Identifier (Entity ID) and Reply URL (Assertion Consumer Service URL)
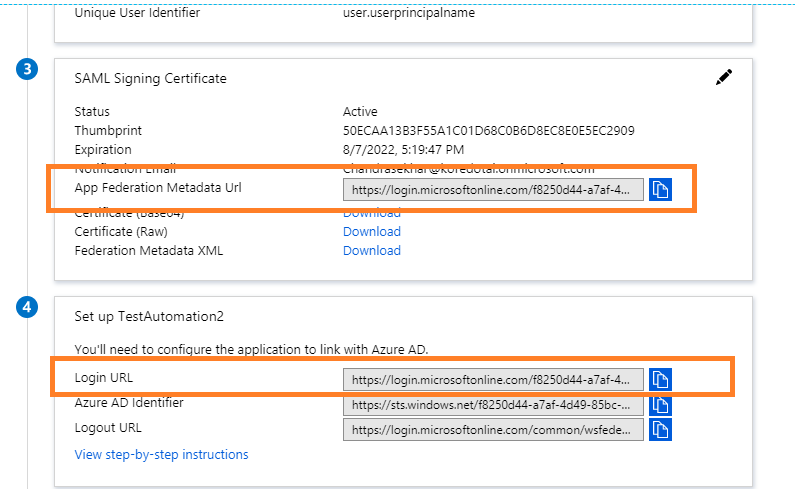
Copying the App Federation Metadata Url and Login URL
Assigning application to users
Assign the application to the users on Azure AD under ‘Users and groups’ of manage section

Enabling SSO on Kore.ai Admin
Configuring SSO on Kore.ai
Login to Kore.ai admin console.
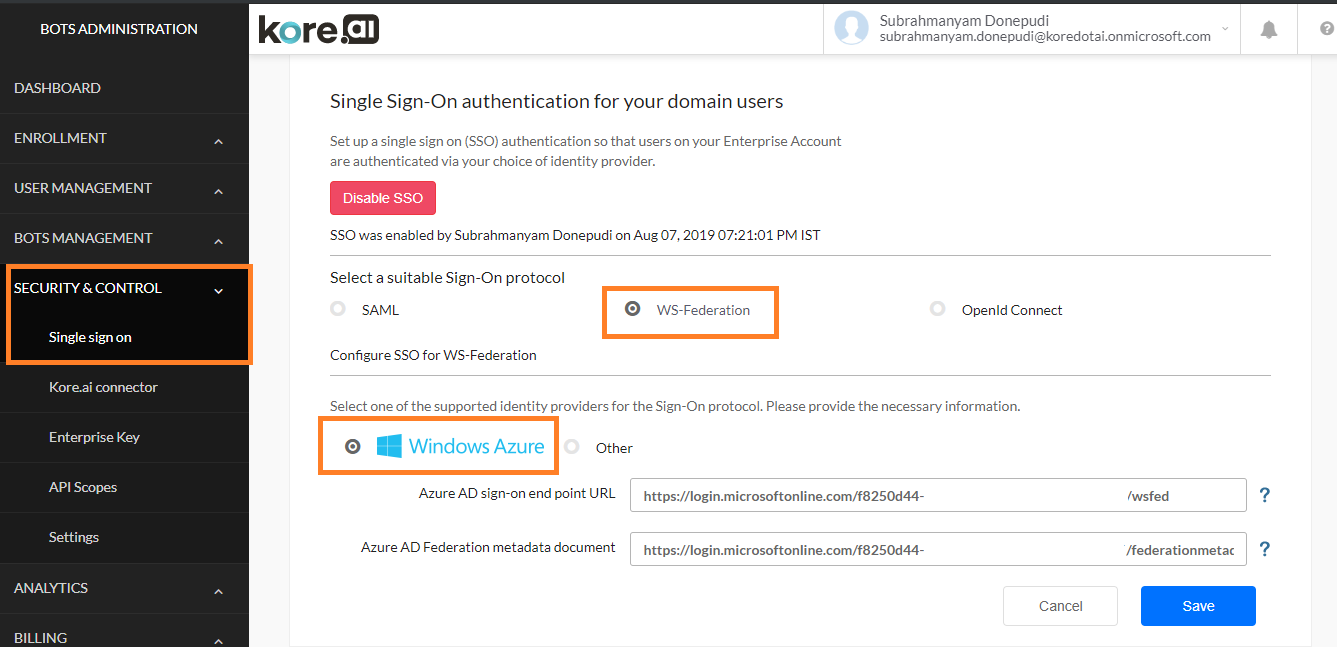
Navigate to Security & Control > Single sign on . Click on enable SSO and choose the Sign-On protocol as WS - Federation.
Choose the supported identity provider as Windows Azure.
The copied Azure AD login URL looks in the below format:
https://login.microsoftonline.com/<tenant-ID>/saml2
In the step to configure the application to use Azure AD, you will need to replace the Azure AD login URL for the WS-Federation end-point
https://login.microsoftonline.com/<tenant-ID>/wsfed.
Configure the sign-on endpoint URL and Federation metadata document URL as below and enable SSO.

Verifying SSO login on bots platform on an account with Windows Azure WS- Fed sign-on method enabled
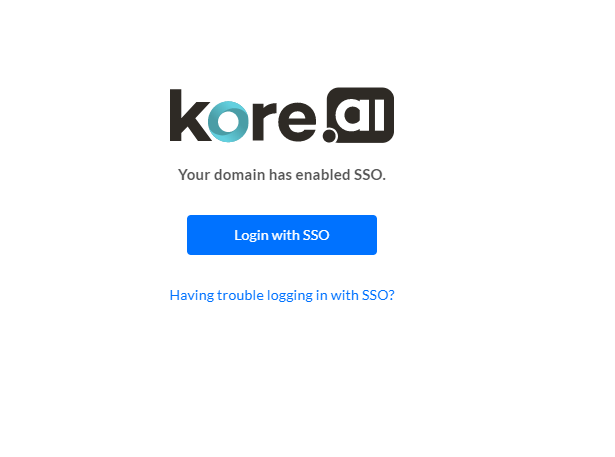
User logged in to Kore.ai using SSO