Capture Application information from Azure Portal
-
Sign in to the Azure Active Directory Portal using your Microsoft identity platform administrator account.
-
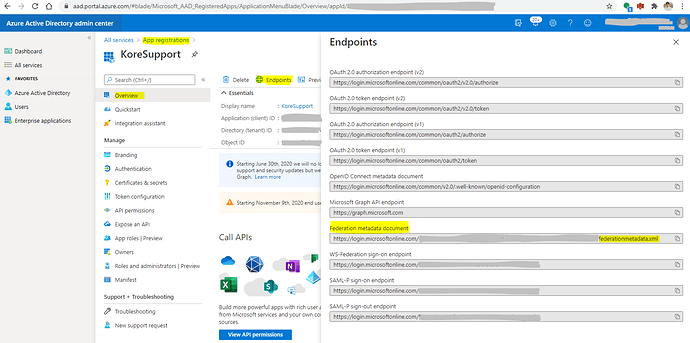
Navigate to App Registrations and open the Application configured for SSO.
-
Go to EndPoints and look for Federation metadata document URL ( URL should be pointing to federationmetadata.xml file).
- Copy that Federation metadata document URL and open it into the new webpage (or Notepad).
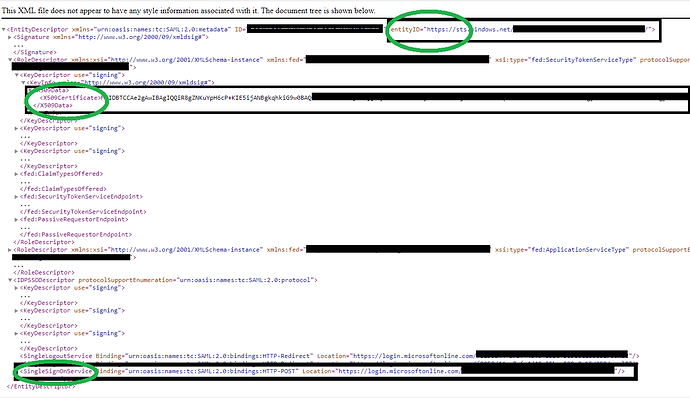
Search for the below information in the federationmetadata.xml file and make a note:
- entityID
- X509Certificate
- SingleSignOnService Binding - Location
Screenshot for reference:
Enabling SSO on Kore.ai Admin
Login to Kore Admin Console :
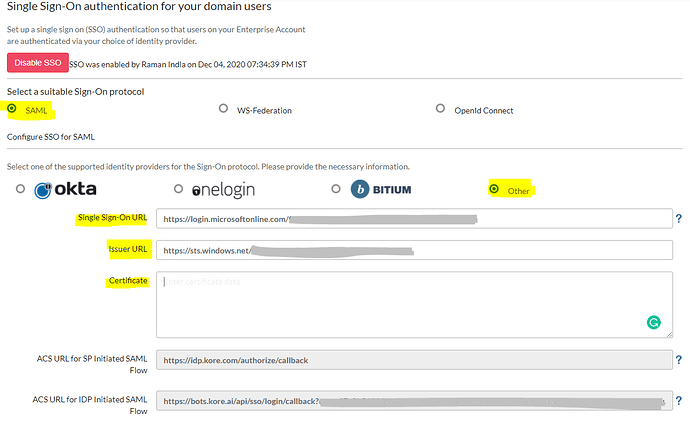
- Navigate to Security & Control > Single sign-on
- Select a Sign-On protocol as > SAML
- Supported Identity provider > Other
Enter the captured data from federationmetadata.xml file and enter in the below format:
- Single Sign-On URL → SingleSignOnService Binding - Location (Https://…)
- Issuer URL → entityID
- Certificate → X509Certificate
Make sure to use an appropriate certificate as per your domain.
Screenshot for reference:
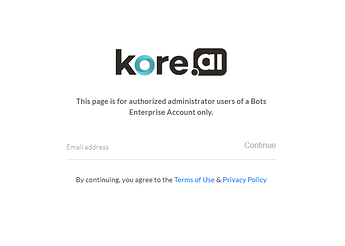
Verifying SSO login on bots platform on an account with SAML sign-on method enabled.
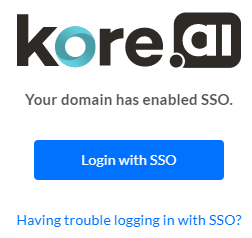
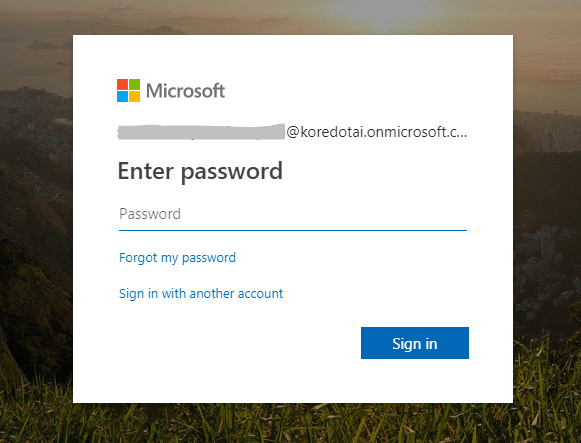
User succesfully logged in to Kore.ai using SSO:
