Hello Developers,
Lately Kore’s web-sdk underwent major changes post the 7.2 release. It is due to the introduction of “Digital Views” (Widgets and Panels).

This article is for the users who are finding it difficult to get started with this SDK. This is an end to end example of how to set up Widget-SDK (master branch in web-sdk).
Disclaimer:
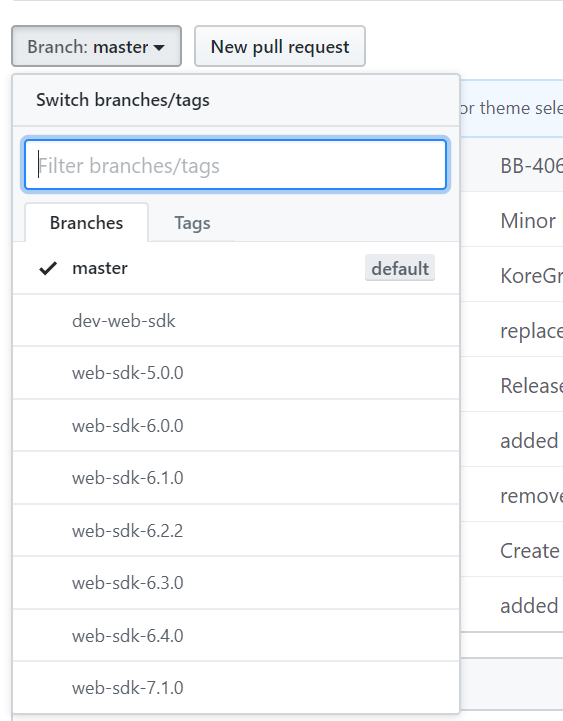
Our web-SDK has branches w.r.t all major previous versions. The previous functionality (web-sdk without widgets) still works fine with 7.1.0 branch. Select the right branch for matching your version of Kore platform - on-premise users may be using older version.
Let us start step by step.
-
Why Widget-SDK?
The main difference between normal web and widget SDK is that widget is for proactively showing some information to the user while web-sdk is just a channel for communicating with bot (reactive in nature). Follow our documentation link more for details. -
Idea of widget-SDK in a nutshell
Say you have a dialog task which when invoked just produces some result without any further interaction in between. Those are something which can be shown proactively to the bot-user. Digital Views / Widgets and Panels can be used for directly querying a service without calling and dialog tasks also. But for this example, we will take 2 dialog tasks which do not interact with the user and simply return some message or information in a template when invoked.

-
Creating the dialog tasks
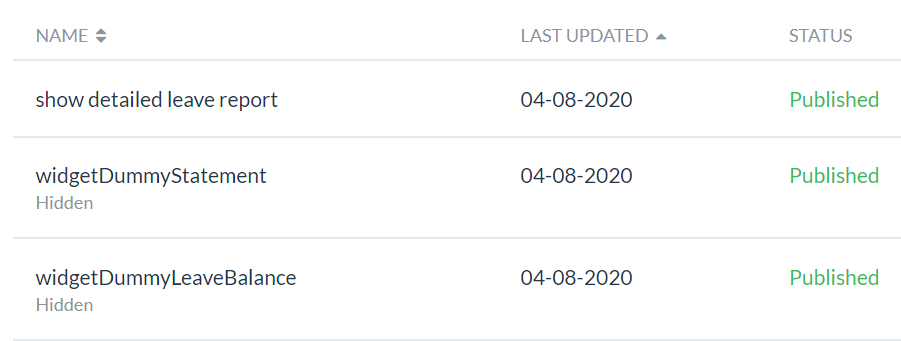
Let us now create 2 dialog tasks which we will use in 2 type of widgets. 1 additional dialog task will be to demonstrate how to deal with click actions from a widget. Let one dialog task be for leave balance summary and another is for credit account summary statement. We will be hiding these two (completely optional) so that we do not see them in help menu.
-
Leave balance task:
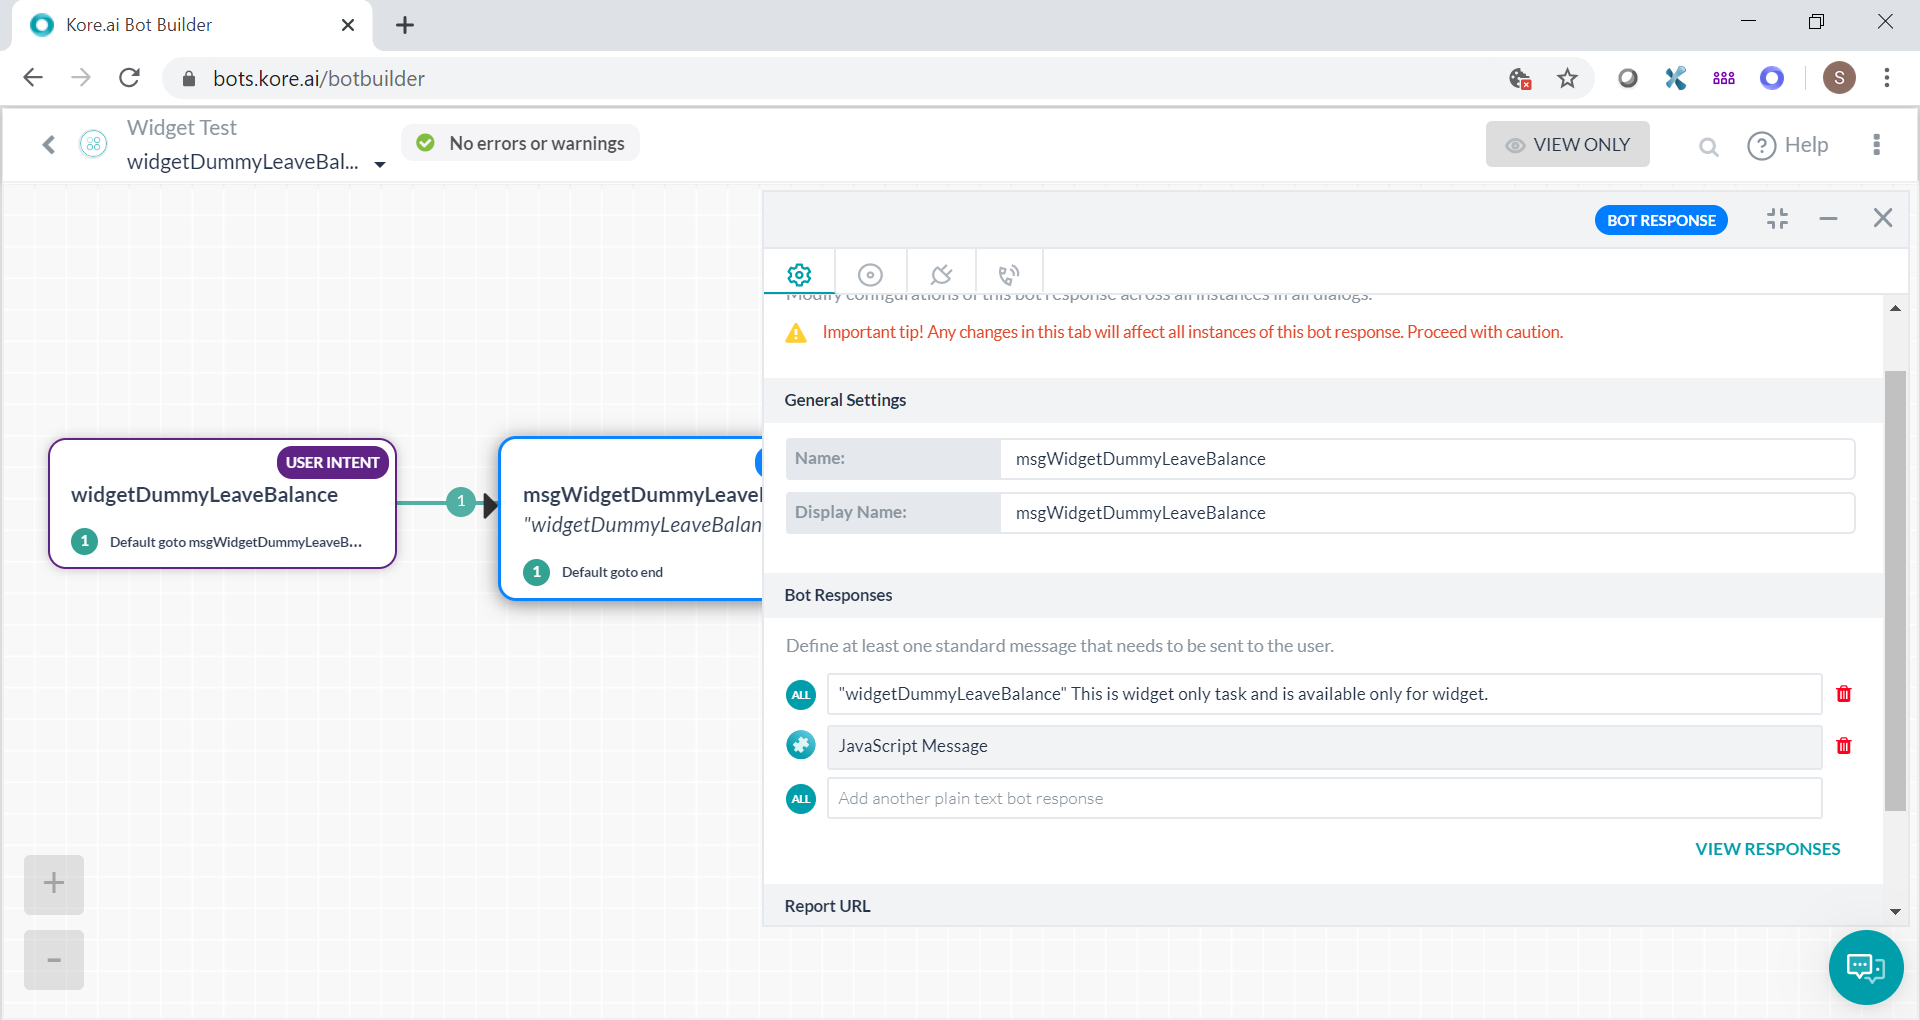
There is a response for all channel. There is another response specific to widget channel.
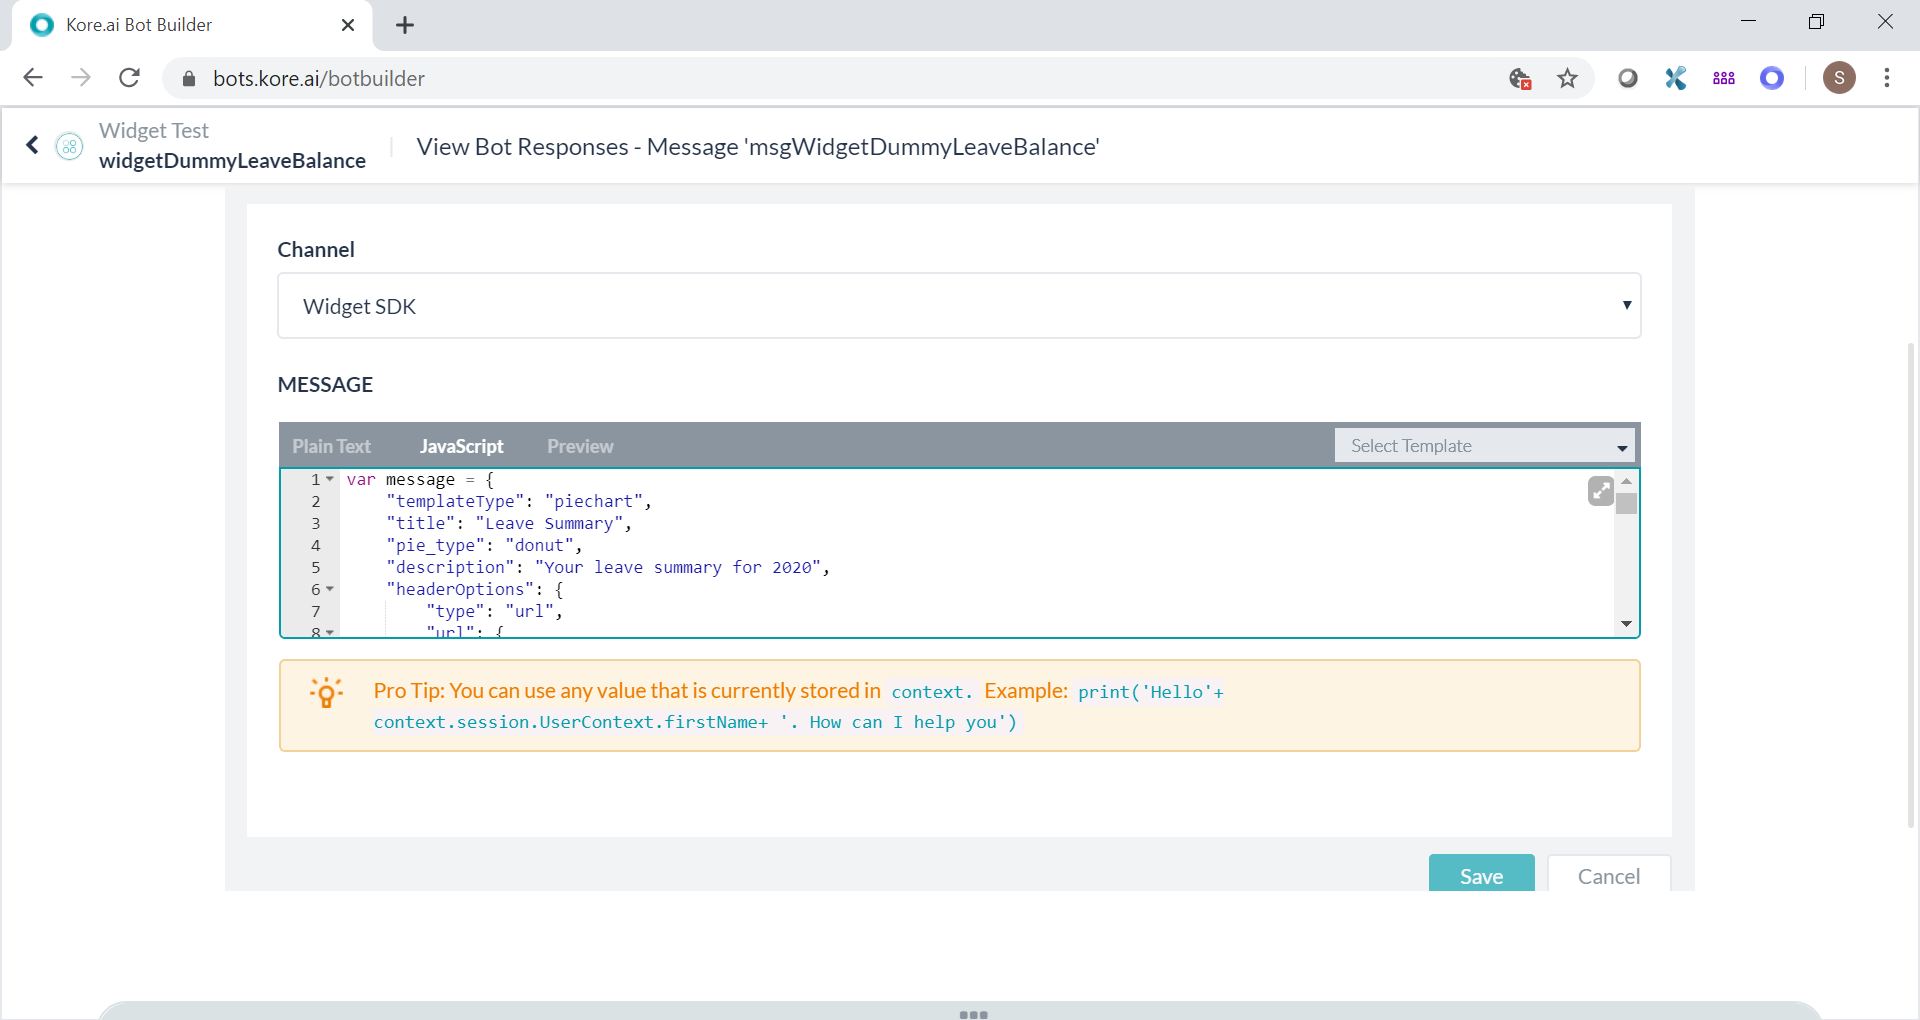
Select channel as Widget SDK and a template. In this case, pie chart was used. Refer to pie chart under documentation. I have just modified the same to my needs. In real-time, there would be a script node and service node before the message node to massage the data received from a service/ API and present it in prescribed template.
Note - You may select a template from the drop down also.
-
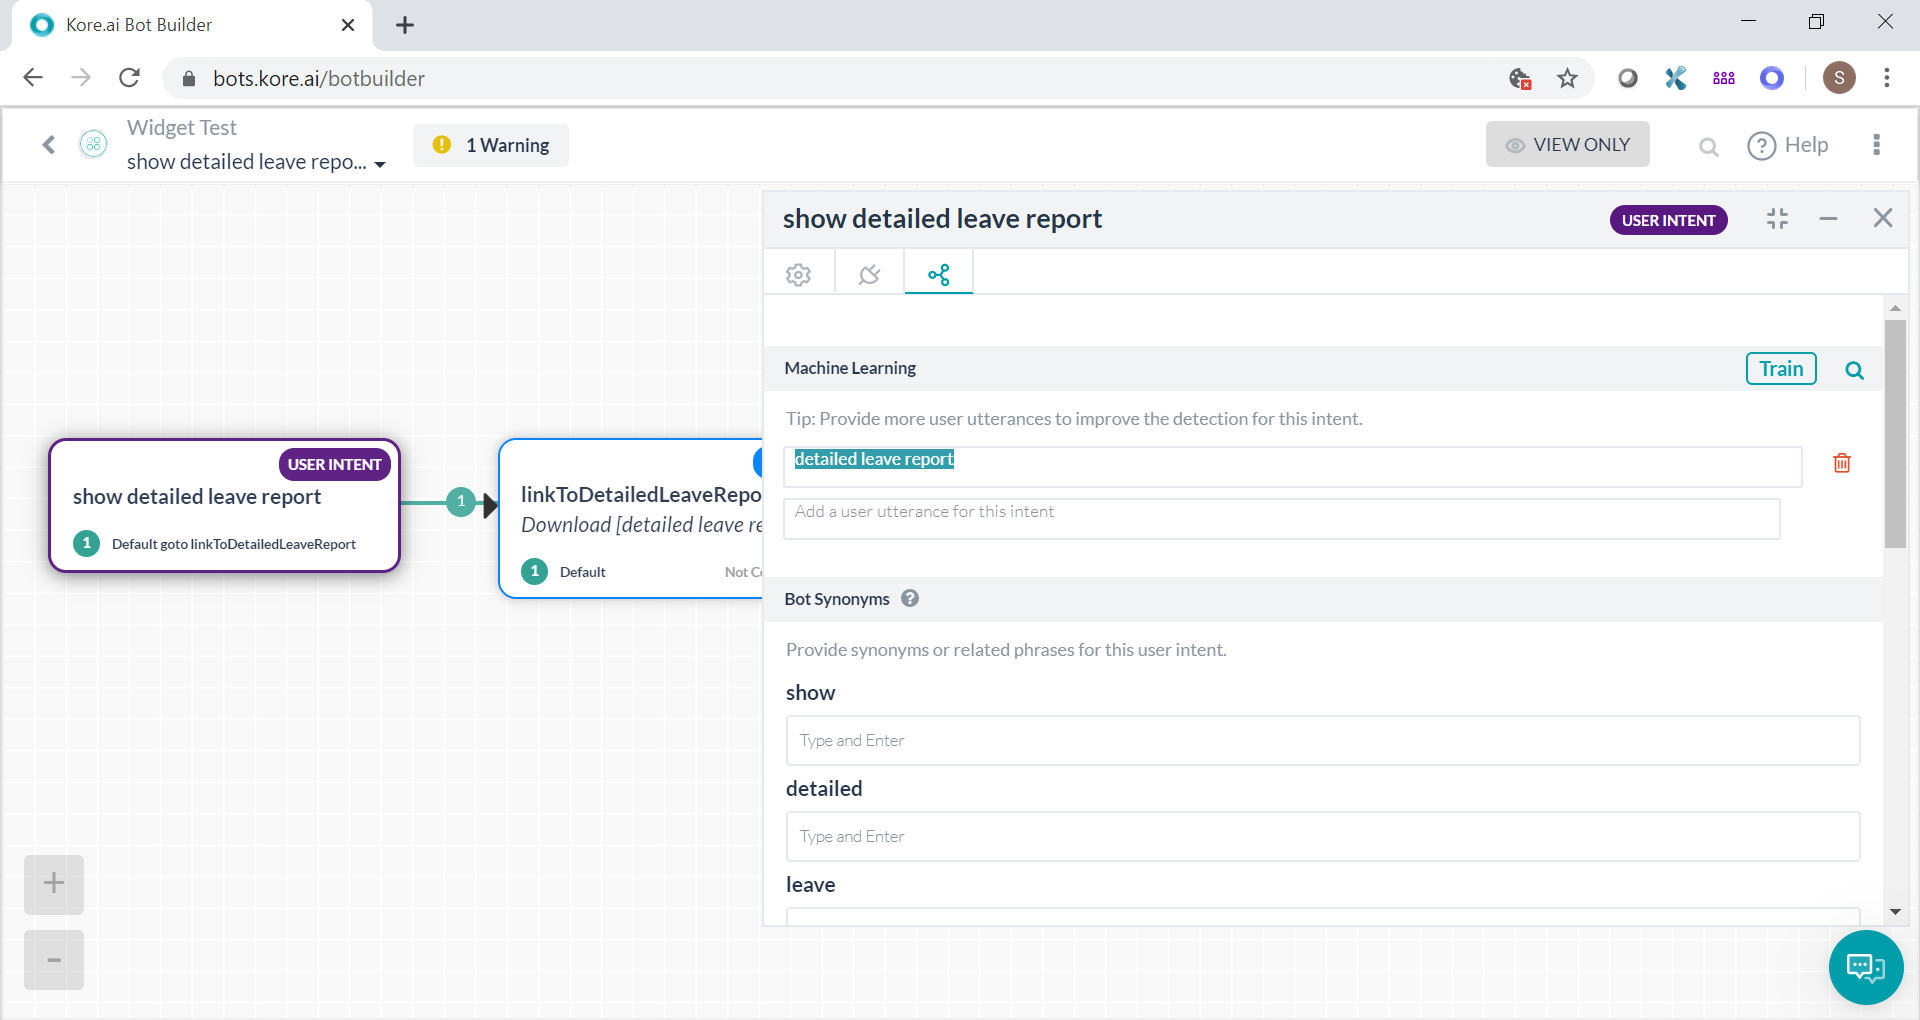
“show detailed leave report” task
In case the user feels leave summary widget does not give adequate information, there will be a button to click for viewing detailed leave report. The above widget is configured to throw a payload “detailed leave report” to the bot in that case. The idea is that the bot will hit some service and produce a downloadable link to the detailed leave report. Hence a different task is created with the right training. This is just for example and details are not implemented.
-
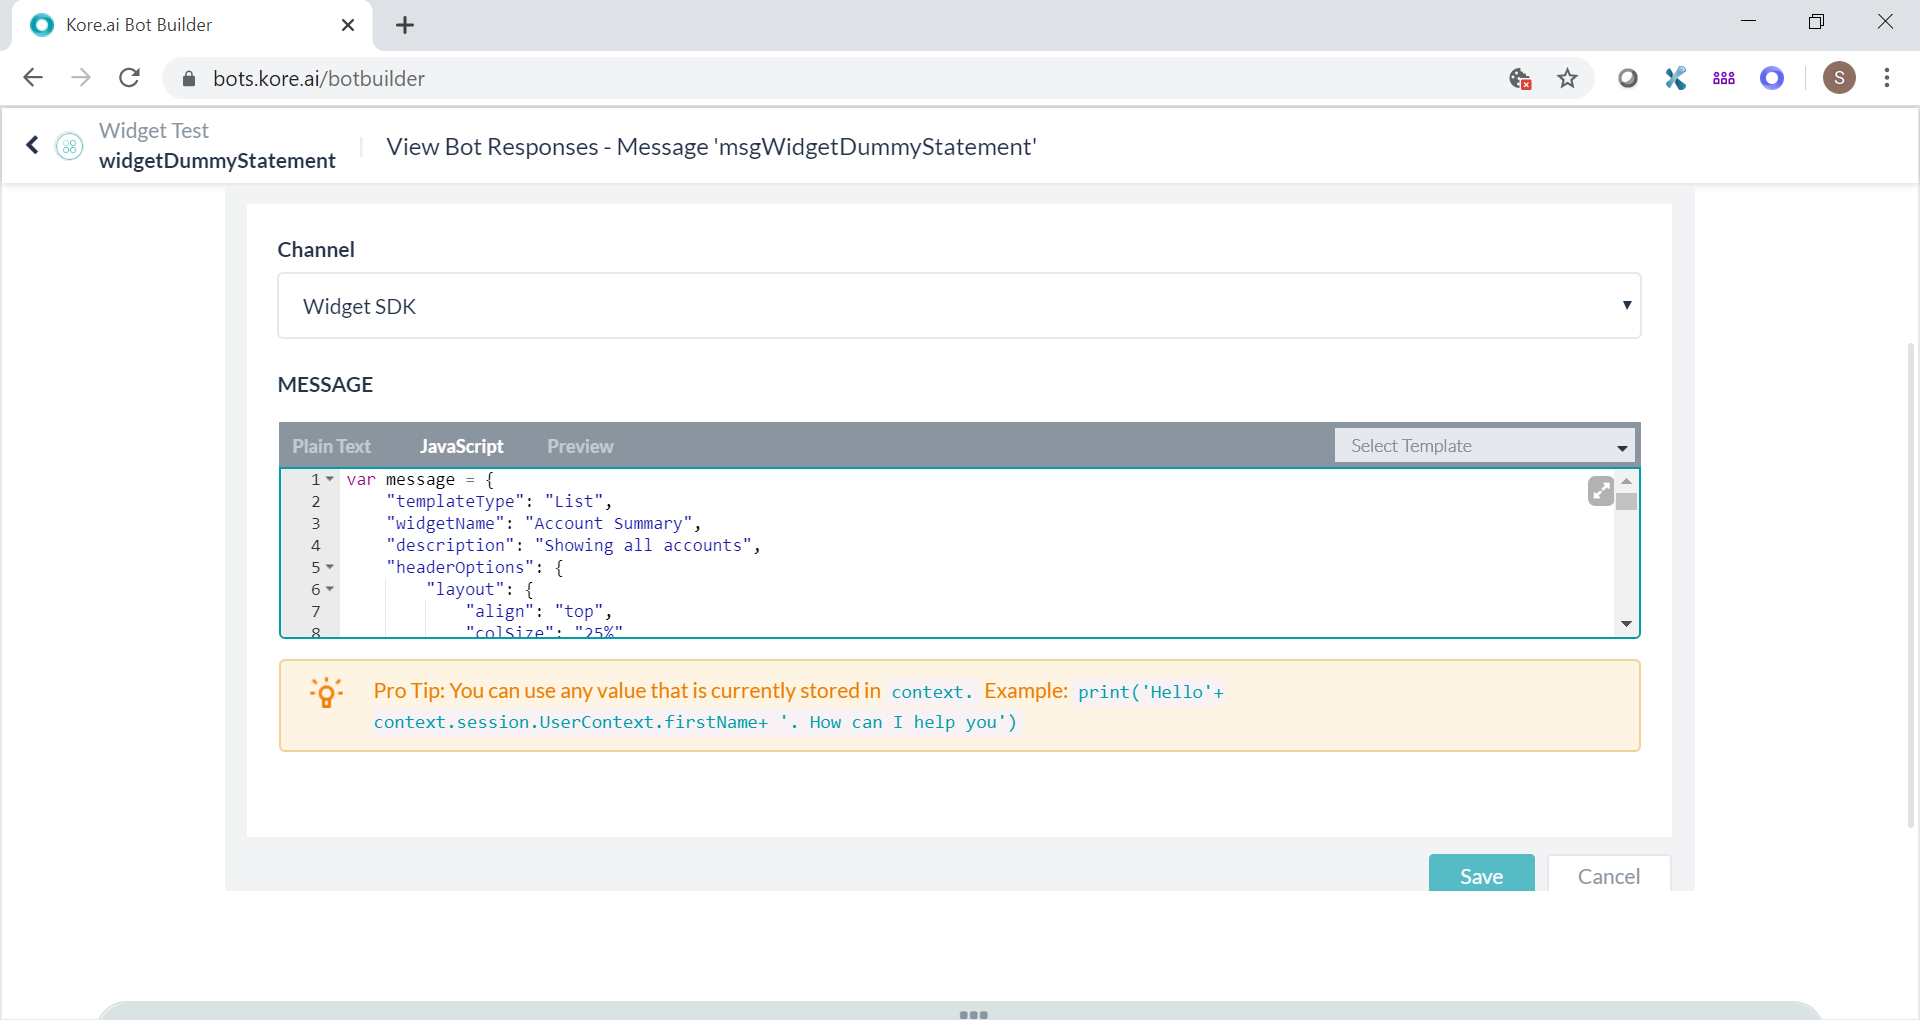
Account summary task
In this case, list template was used. Refer to documentation.
-
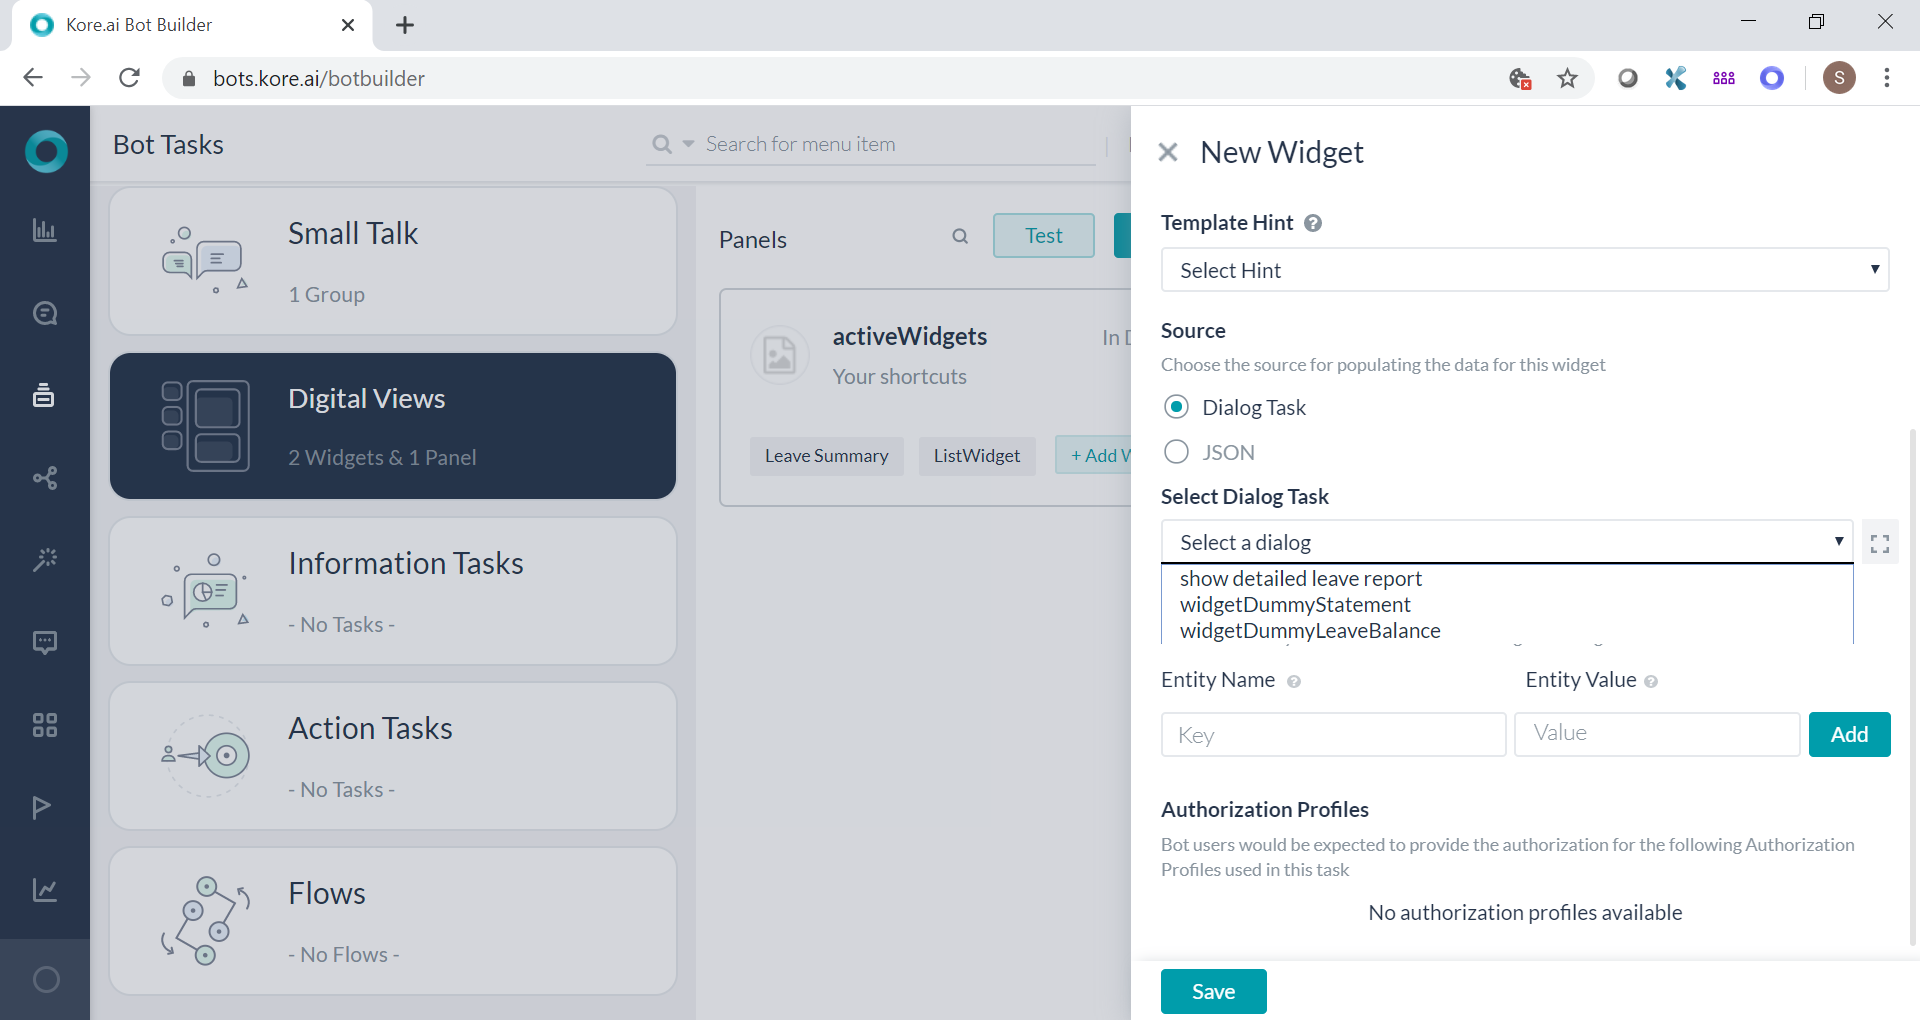
Adding the tasks in Digital View
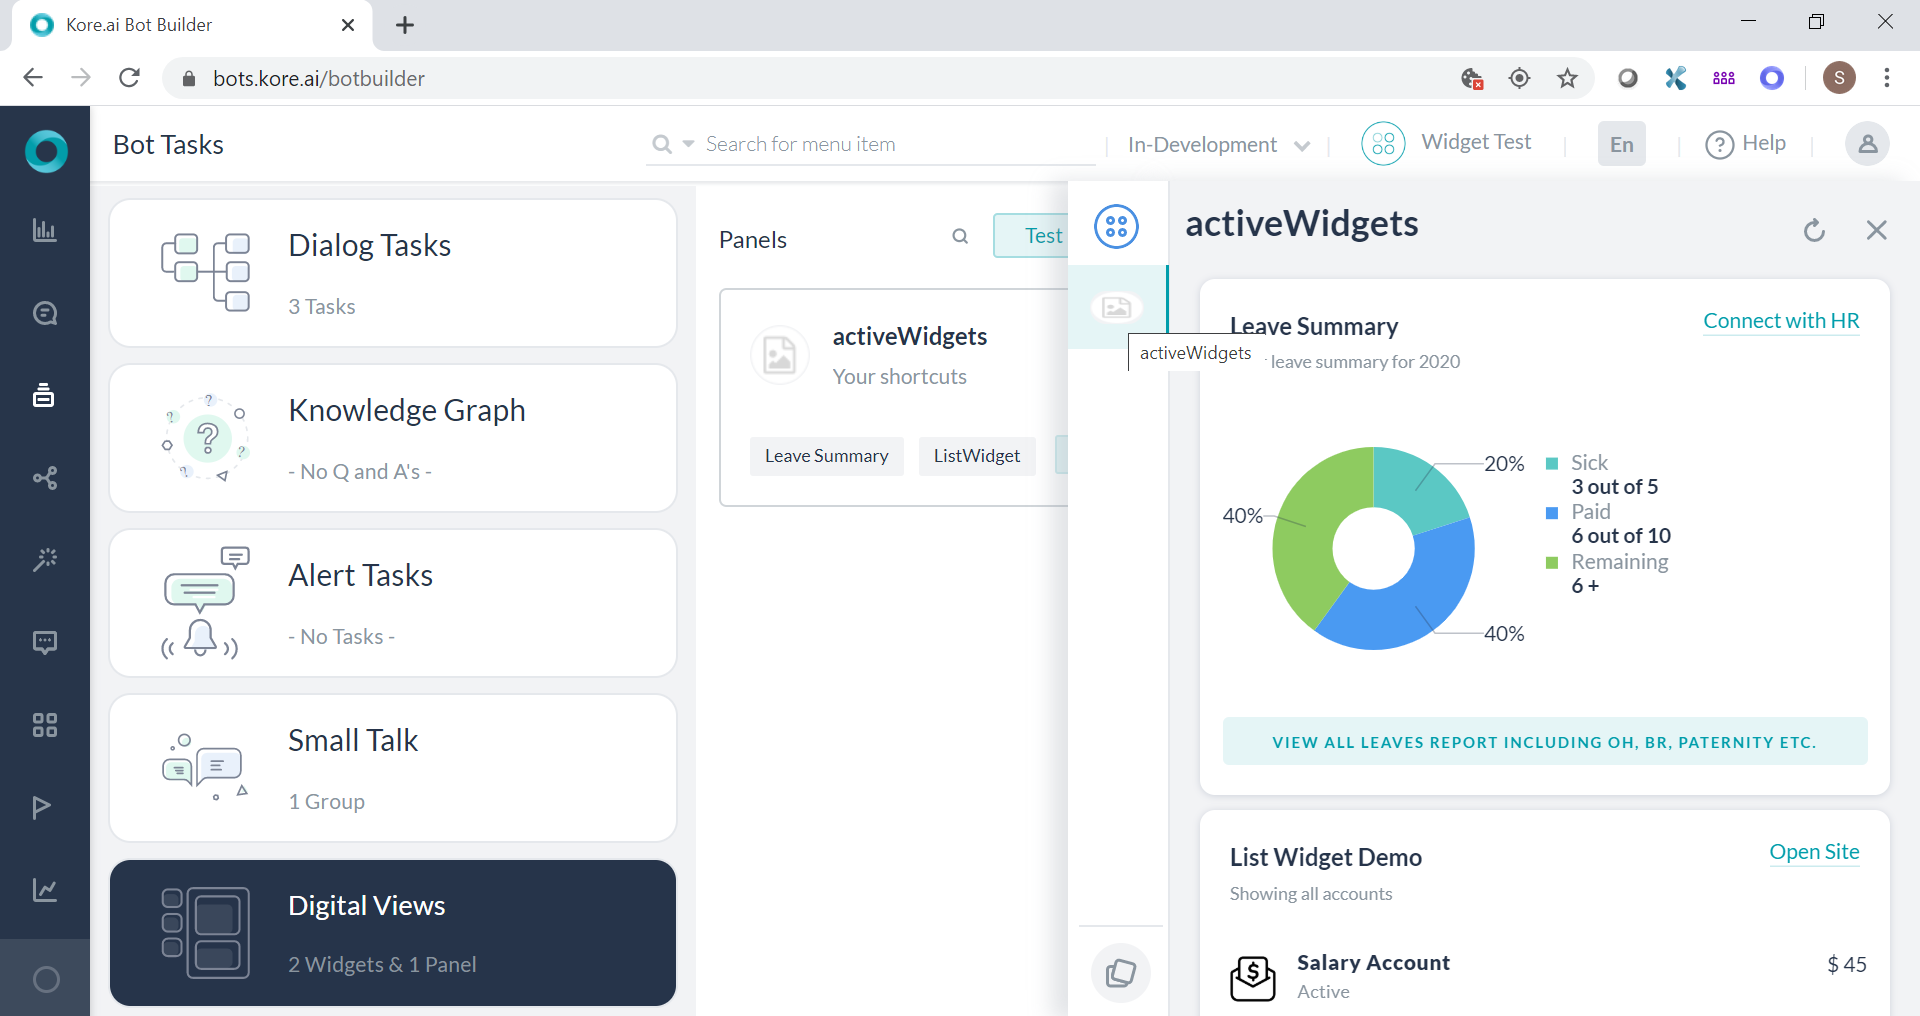
Widgets are to be created by selecting the dialog tasks. These widgets are to be added in the panel so that it can be displayed. Two widgets are shown added to the panel in below screenshot.
-
Test the bot and widget
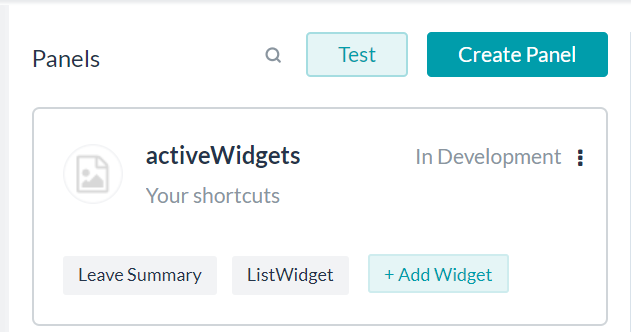
Under the panels, you will see a Test button. Click the same to test with widget on bot-builder.
-
Configuring channels
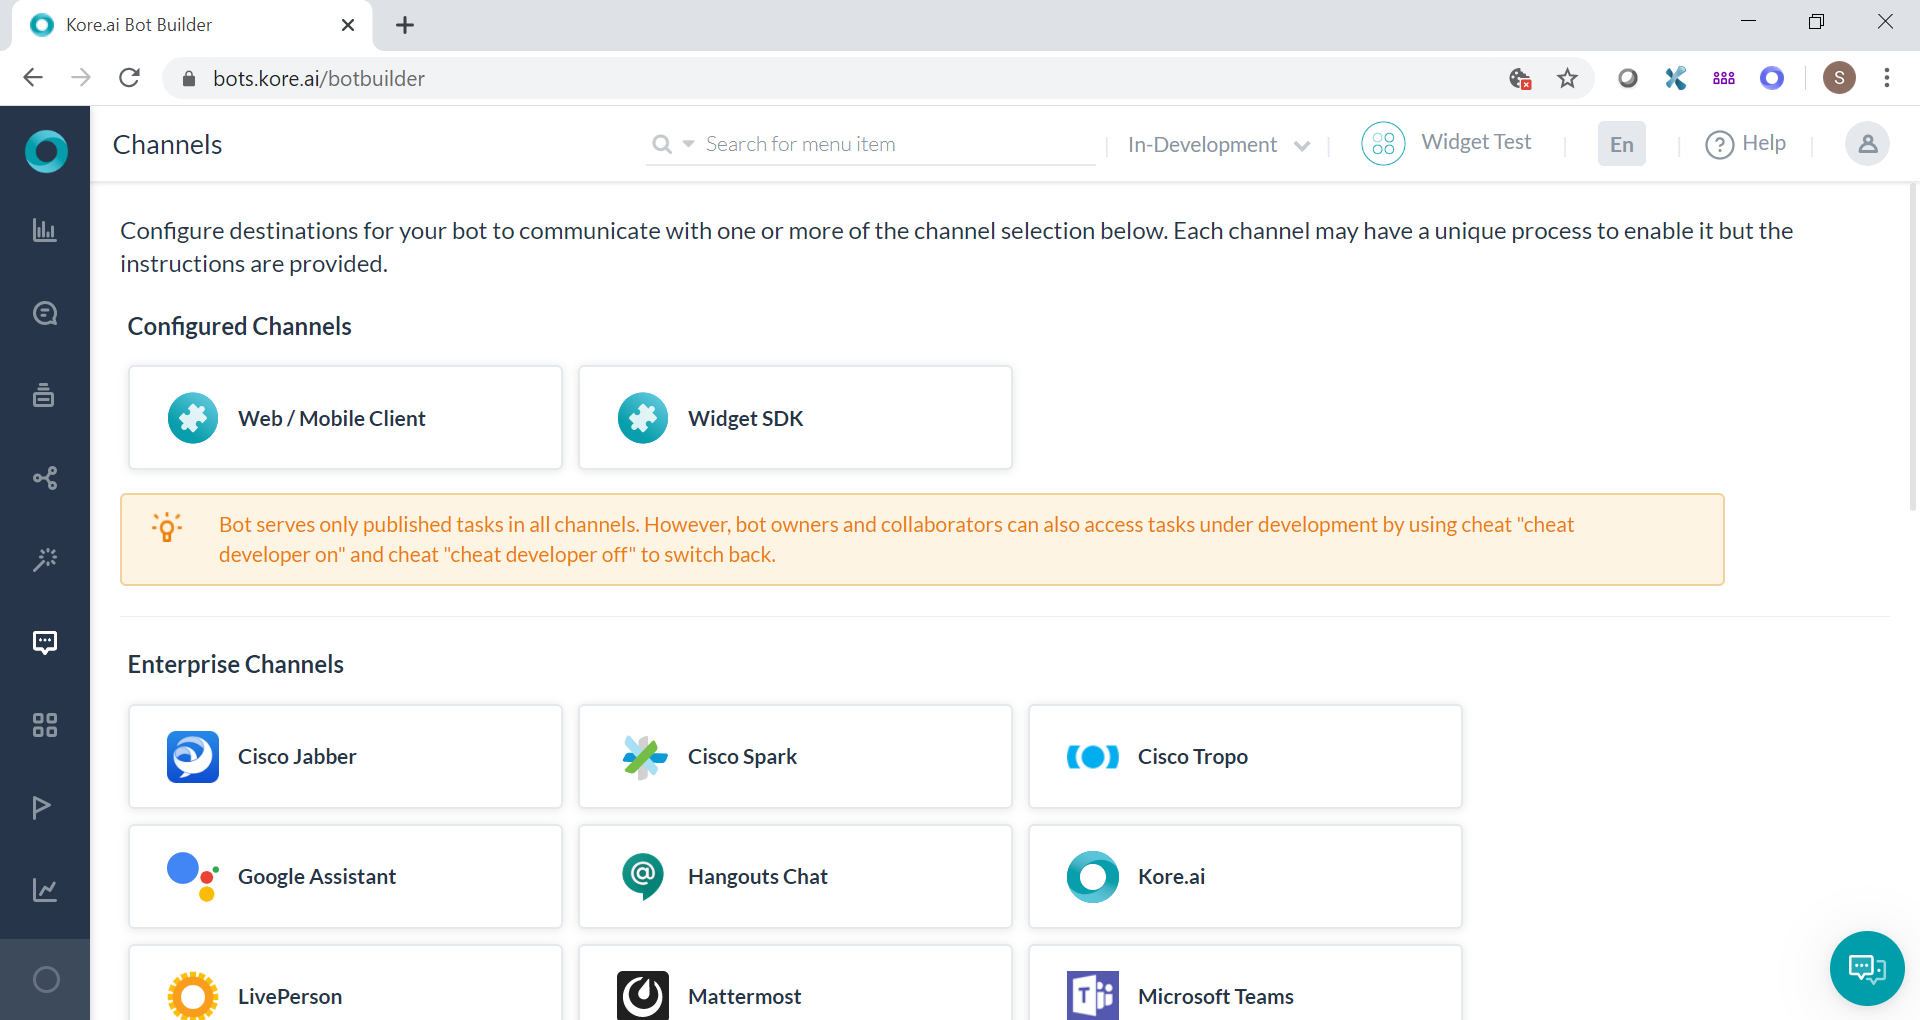
Since it is not necessary that all bots will have widgets/ digital view, it needs a different channel. Two channels need to be created - web/mobile client and widget-sdk channels. Normal bot communication will follow in web/ mobile client channel and widgets will use widget-sdk channel.
-
Publish the bot
-
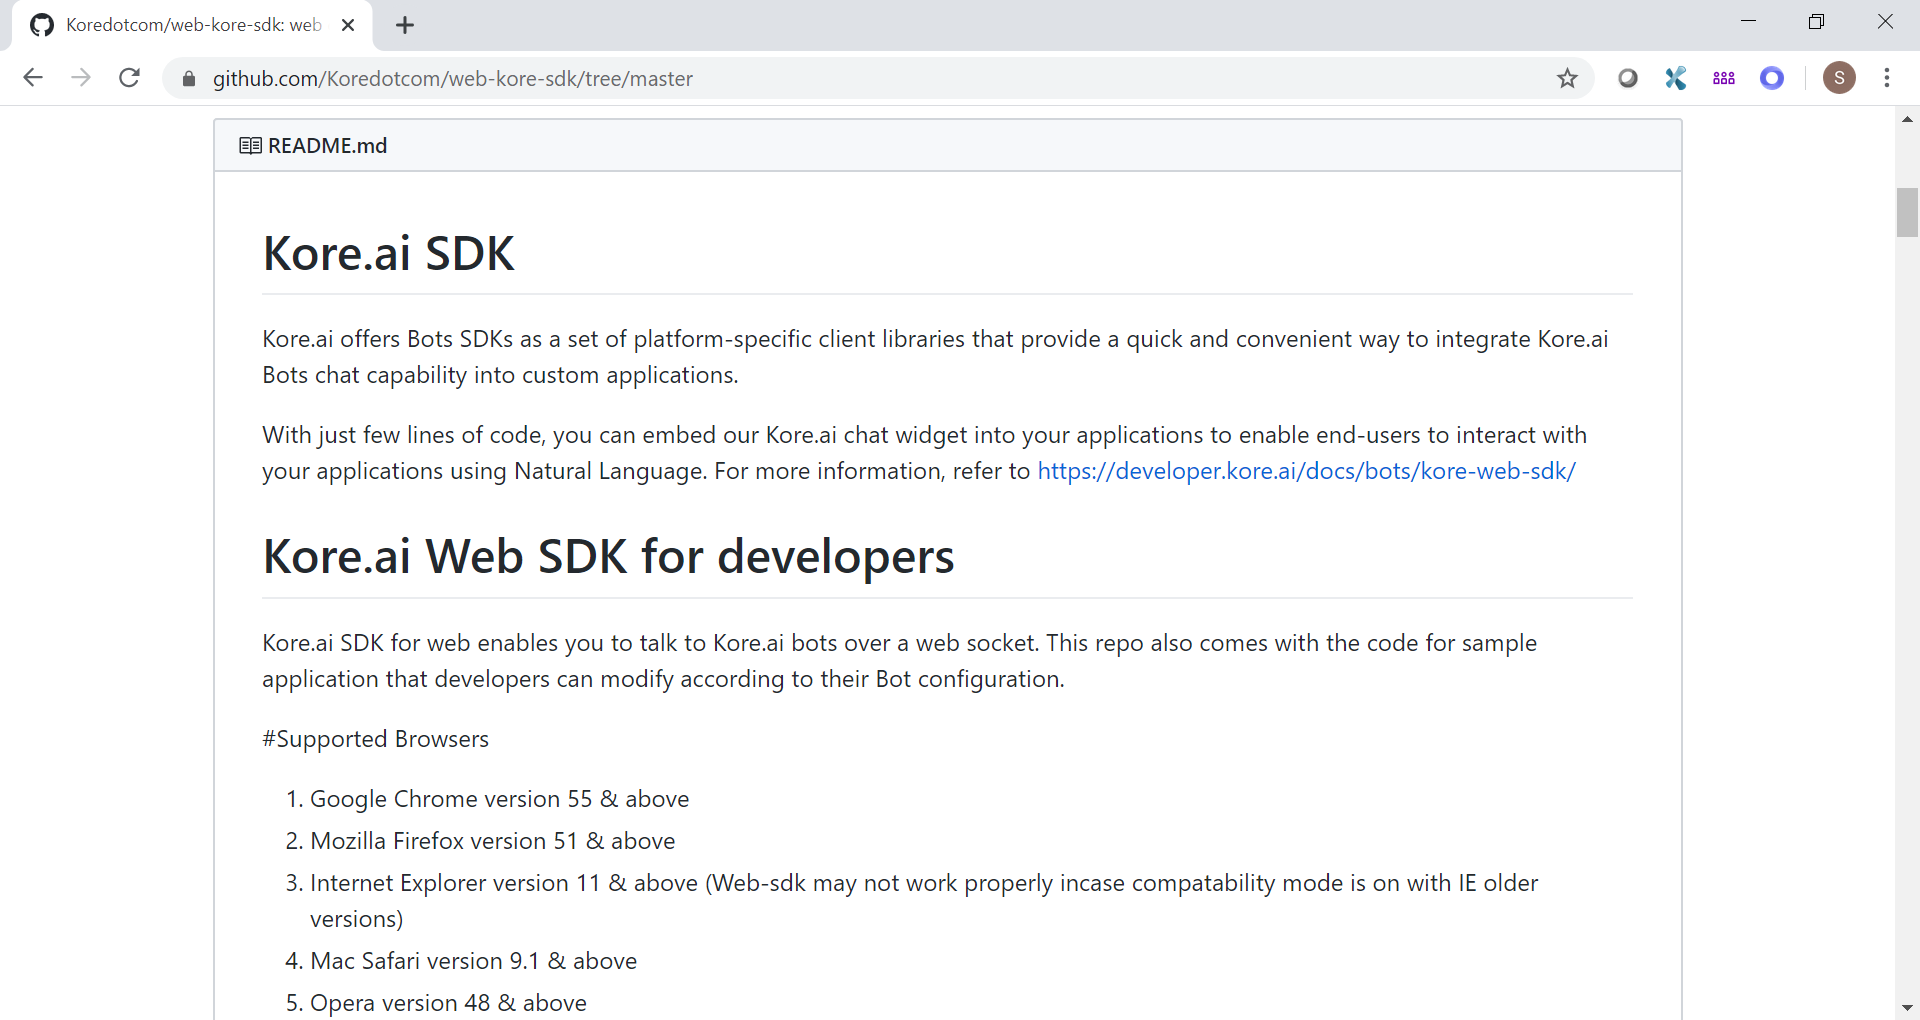
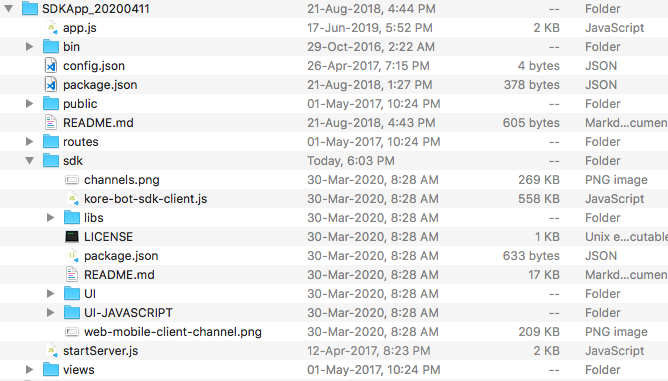
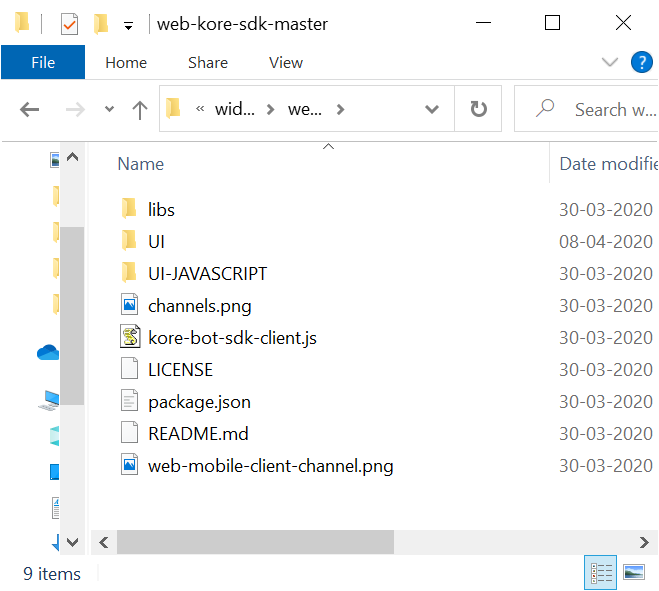
Download the SDKGitHub repository. It is the master branch. Unzip it in a suitable directory.
-
JWT Service
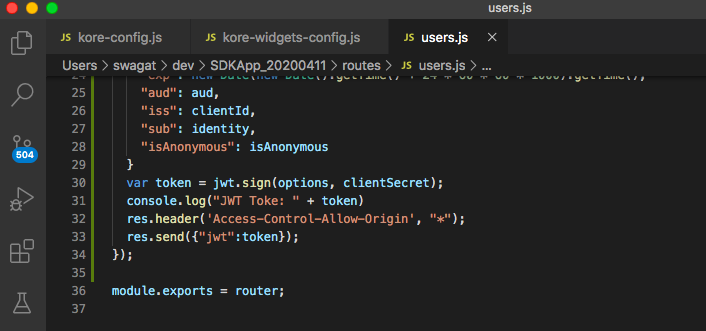
The GitHub documentation clearly indicates JWT service as a pre-requisite. Developer is expected to set up own JWT service. However, if the developer does not have one handy please download SDKApp (a test app) which provides a local nodejs based JWT service. Refer the documentation.
When you unzip the SDKApp, go to terminal/ command prompt and perform
npm install
After that start the app as
node startServer.js
In case you get CORS error refer to this post.
You can refer to the app.js to figure out that your local JWT service will be running at
http://localhost:3000/api/users/sts -
Configuring Widget SDK html
Under UI directory we will use “index_widgets_chat.html”. For that to work, 2 files need to be modified (Recollect that we configured 2 channels for the widget. Hence we need 2 places where we need to configure)-
-
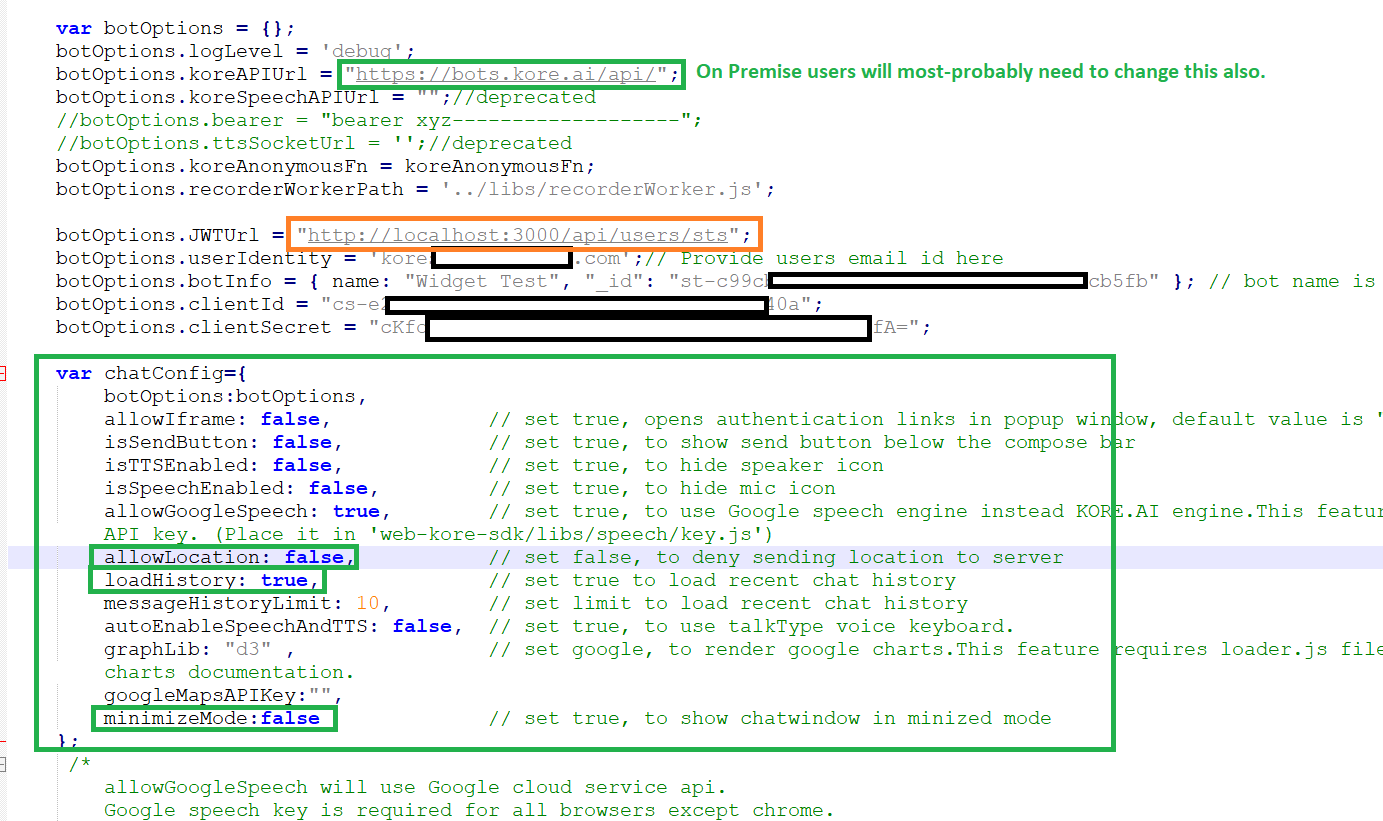
“kore-config.js” - Note how JWT URL is mentioned. User Identity can be any email or alphanumeric unique identifier. Bot name, bot id, client name and client secret need to be configured with web/mobile client channel app information.
-
“kore-widgets-config.js” - You can mention same JWT URL. User Identity can be any email or alphanumeric unique identifier. It can be same as in above file. Bot name, bot id, client name and client secret need to be configured with widget sdk channel app information.
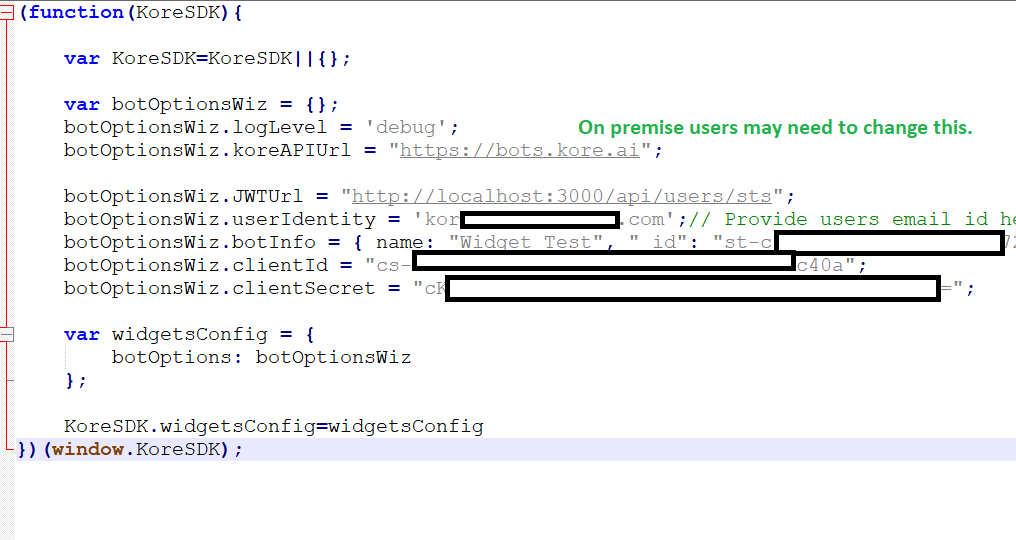
-
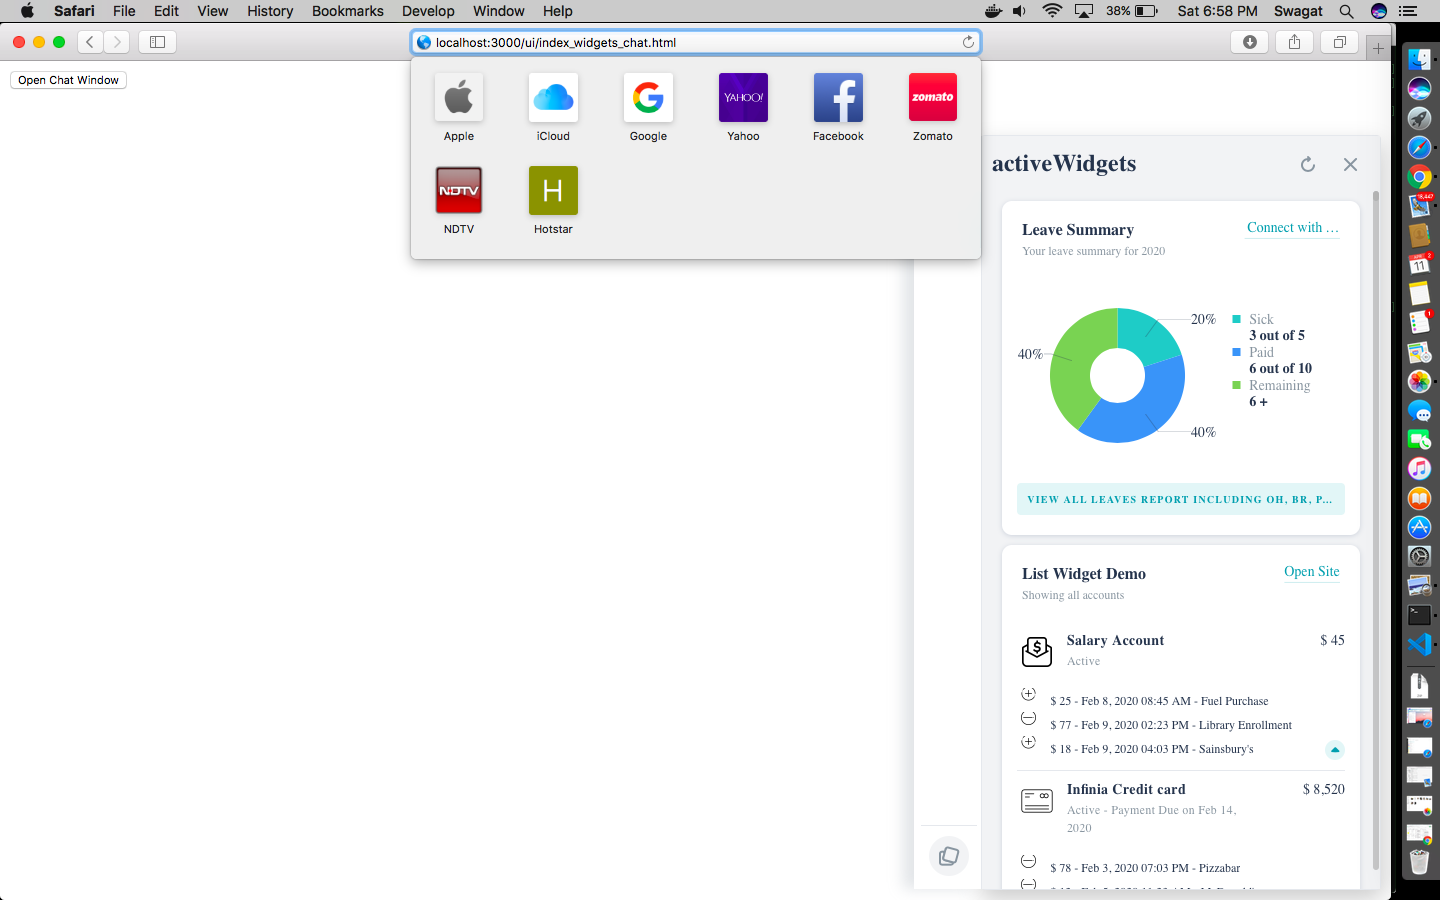
Open “index_widgets_chat.html” and test
Open the above mentioned html file. Test the bot. You should be able to load the bot without any issues if all the steps are carried out properly.
You will need to click on the indicated icon to open the widget panel.
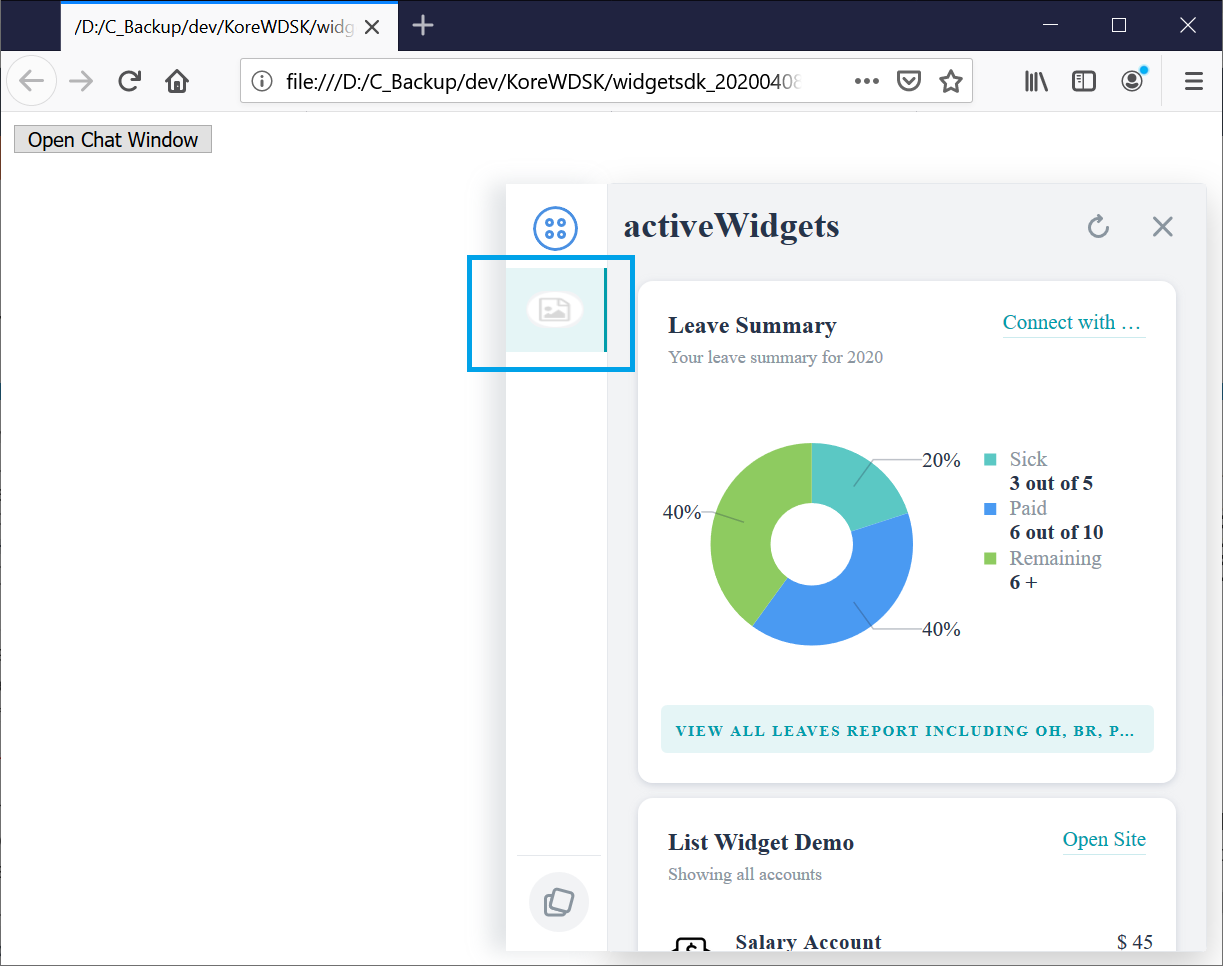
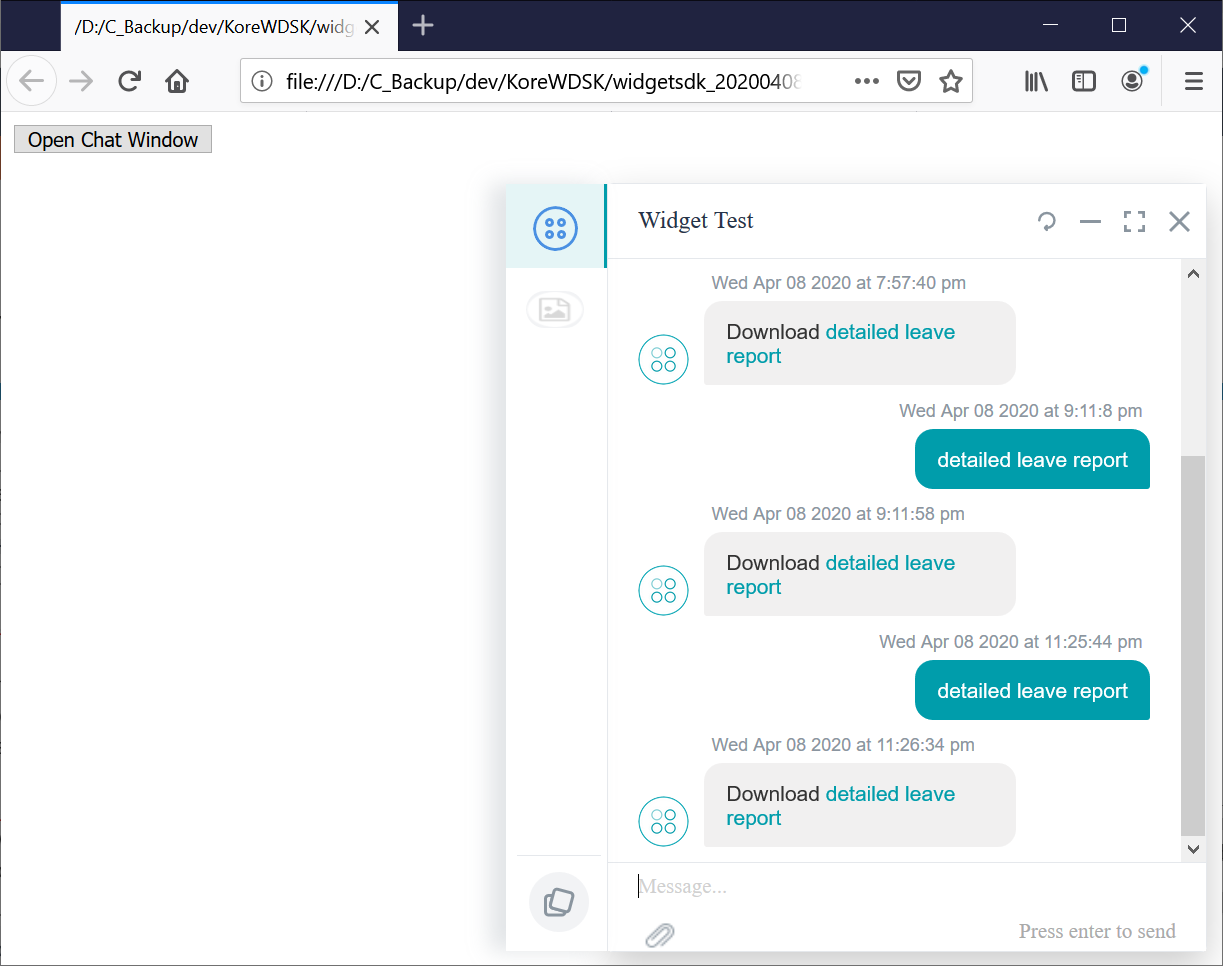
Click on view all leaves report… button on the pie chart panel. See that the payload is sent to the bot and bot answers based on the training of dialog tasks it has.
Hope this is useful. Keep exploring more.
Go through the documentation on GitHub for more details and information.
